Shopify Google Ads Conversion Tracking Broken? Try This
![]()
You're running Google Ads campaigns for your Shopify store, driving traffic, but your conversions in Google Ads aren't matching your sales. This is a frustratingly common problem, often stemming from how conversion tracking is implemented (or mis-implemented) on Shopify's unique platform. Unlike traditional websites, Shopify has specific limitations, especially regarding the checkout process and the `checkout.liquid` file.
If your Google Ads conversion tracking on Shopify is broken, you're flying blind, wasting ad spend, and missing out on crucial optimization data. This guide will help you understand the common pitfalls and provide a full fix to ensure every valuable sale is tracked.
Why Shopify Google Ads Tracking Can Break
Shopify's platform is designed for ease of use, but its locked-down nature, especially the checkout pages, can make traditional tracking implementations challenging. Here are the main reasons your tracking might be failing:
- `checkout.liquid` Restrictions: For most Shopify plans (non-Plus), you cannot edit the `checkout.liquid` file. This means you can't directly inject scripts into the entire checkout funnel. Shopify Plus plans *did* allow this, but even for Plus, `checkout.liquid` is being deprecated by August 2025, moving towards Checkout Extensibility and Web Pixels API.
- Incorrect Global Site Tag (Gtag.js) Placement: The base Google tag (
gtag.js) needs to be on all pages of your store. If it's missing or placed incorrectly, no conversion events will fire. - Event Snippet Misconfiguration: The specific event snippet (e.g., for 'purchase' conversions) must be correctly placed and dynamically configured on the thank-you page.
- Thank-You Page URL Variability: Shopify generates unique URLs for each order's thank-you page (e.g.,
/checkouts/cn/.../thank-you). Generic "page view" triggers might not be robust enough, or the URL matching might be incorrect. - Duplicate Tracking: Installing Google Ads tracking via multiple methods (e.g., Google & YouTube app + manual code + Google Tag Manager) can lead to inflated conversion counts.
- Ad Blockers & Consent Management: Users blocking scripts or not consenting to cookies will prevent tracking, leading to discrepancies.
The Primary Solution: Shopify's "Additional Scripts" on the Order Status Page
For most Shopify stores, the "Additional scripts" box in the "Order status page" section of your checkout settings is the most reliable place to implement Google Ads purchase conversion tracking.
Step-by-Step Implementation:
1. Create Your Conversion Action in Google Ads
- Log in to your Google Ads account.
- Navigate to "Goals" > "Conversions" in the left-hand menu.
- Click the blue "+" button to create a new conversion action.
- Select "Website" as the conversion source.
- Enter your website URL and click "Scan." (You might be prompted to use the Google & YouTube app; you can choose to "Add a conversion action manually" if you prefer this method).
- Select "Add a conversion action manually."
- Choose "Purchase" as the Goal and action optimization.
- Give your conversion a clear name (e.g., "Shopify Purchase").
- For "Value," select "Use different values for each conversion" and set your store's default currency. This is crucial for tracking actual revenue and calculating ROAS.
- Set "Count" to "Every" (for purchases, you want to count every purchase).
- Review the other settings (conversion windows, attribution model – "Data-driven" is recommended if available).
- Click "Done" and then "Save and continue."
2. Get Your Google Tag and Event Snippet
- After saving, you'll be presented with tag setup options. Choose "Install the tag yourself."
- You'll see two pieces of code:
- The Google tag (Global Site Tag): This starts with
<!-- Google tag (gtag.js) -->and contains your Google Ads Conversion ID (AW-XXXXXXXXX). - The event snippet: This is specific to your 'purchase' conversion action and contains your Conversion Label (e.g.,
'send_to': 'AW-XXXXXXXXX/YYYYYYYYYY').
- The Google tag (Global Site Tag): This starts with
- Copy both of these snippets.
3. Install the Google Tag on Your Shopify Theme
This tag needs to be on every page of your store. The ideal place is within the <head> section of your theme.liquid file.
- From your Shopify admin, go to "Online Store" > "Themes."
- Find your current theme, click "Actions" > "Edit code."
- In the "Layout" section, click on
theme.liquid. - Paste the entire Google tag snippet (starting with
<!-- Google tag (gtag.js) -->) just above the closing</head>tag. - Click "Save."
4. Add the Event Snippet to the Thank-You Page (Order Status Page) with Dynamic Values
This is where you'll ensure the purchase data is correctly sent.
- From your Shopify admin, go to "Settings" > "Checkout."
- Scroll down to the "Order processing" section and find the "Additional scripts" text area.
- Paste your event snippet here.
- Crucially, modify the event snippet to pass dynamic values (order total, currency, transaction ID) using Shopify Liquid variables.
Your event snippet will look something like this (simplified):
<script>
  gtag('event', 'conversion', {
      'send_to': 'AW-YOUR_CONVERSION_ID/YOUR_CONVERSION_LABEL',
      'value': 1.0,
      'currency': 'USD',
      'transaction_id': ''
  });
</script>
Modify it to use Shopify Liquid variables:
{% if first_time_accessed %}
<script>
  gtag('event', 'conversion', {
      'send_to': 'AW-YOUR_CONVERSION_ID/YOUR_CONVERSION_LABEL',
      'value': {{ checkout.total_price | divided_by: 100.0 }},
      'currency': '{{ shop.currency }}',
      'transaction_id': '{{ order.order_number }}'
  });
</script>
{% endif %}
Explanation of changes:
{% if first_time_accessed %}...{% endif %}: This Liquid tag ensures the conversion fires only once when the customer first accesses the thank-you page, preventing duplicate conversions if the page is refreshed.'value': {{ checkout.total_price | divided_by: 100.0 }}: This uses Shopify'scheckout.total_priceLiquid object (which returns the value in cents) and divides it by 100.0 to get the correct dollar/currency value. You could also usecheckout.subtotal_priceif you want to exclude tax and shipping.'currency': '{{ shop.currency }}': This automatically pulls your store's base currency, ensuring no currency mismatches.'transaction_id': '{{ order.order_number }}': This populates the transaction ID with Shopify's order number, crucial for accurate tracking and deduplication in Google Ads.
Click "Save" after pasting and modifying the code.
Verifying Your Google Ads Conversion Tracking
After implementation, it's vital to test and verify everything is working correctly.
- Use Google Tag Assistant: Install the Google Tag Assistant Chrome extension. Navigate to your Shopify store and go through a test purchase. On the thank-you page, check Tag Assistant to see if your Google Ads conversion tag fired successfully with the correct values.
- Check Google Ads "Conversions" Section: After a few hours (it can take time for data to process), check your Google Ads account under "Goals" > "Conversions." Your "Shopify Purchase" conversion action should show a "Recording conversions" status and display your test purchase.
- Simulate a Conversion: In Google Ads, for your conversion action, click on "Tag setup" and then "Troubleshoot." Follow the instructions to simulate a conversion and verify it in real-time.
Addressing Common Troubleshooting Scenarios
1. Conversions Still Not Showing
- Double-check IDs: Ensure your Google Ads Conversion ID (AW-XXXXXXXXX) and Conversion Label (YYYYYYYYYY) are exactly correct in both the Global Site Tag and the event snippet.
- Placement: Confirm the Global Site Tag is in
theme.liquidjust before</head>and the event snippet is in "Additional scripts" on the checkout page. - `first_time_accessed` Logic: Ensure the `{% if first_time_accessed %}` Liquid tag is correctly wrapped around your event snippet to prevent it from not firing due to prior visits.
- Conflicting Apps: Some Shopify apps (especially other tracking or analytics apps) can interfere. Try disabling other tracking apps temporarily to diagnose conflicts.
2. Duplicate Conversions
- The `first_time_accessed` Tag: The most common cause. Ensure your event snippet is wrapped in `{% if first_time_accessed %}...{% endif %}`.
- Multiple Implementations: Check if you have installed the same conversion tag multiple times (e.g., manually and via the Google & YouTube app). Disable automatic tracking in the Google & YouTube app if you're implementing manually.
3. Value or Currency Incorrect
- Liquid Variable Check: Ensure
checkout.total_price | divided_by: 100.0andshop.currencyare used correctly. Test them by temporarily displaying them on your thank-you page (e.g.,<p>Total Price: {{ checkout.total_price | divided_by: 100.0 }}</p>) to verify the values output. - GA4 vs. Google Ads: Do not confuse GA4 e-commerce tracking with Google Ads conversion tracking. While both can use
gtag.js, their event parameters and setup details can differ. If you're also using GA4, ensure both are configured correctly without conflict.
4. Checkout.liquid Deprecation (Shopify Plus)
If you are on Shopify Plus and rely on `checkout.liquid` for complex tracking, be aware of the upcoming deprecation. Shopify is pushing for Web Pixels API and Checkout UI Extensions (for customization) as replacements. For advanced tracking needs, consider using Google Tag Manager (GTM) in conjunction with Shopify's Customer Events (Web Pixels) API, or a robust third-party tracking app like Analyzify.
Proper Google Ads conversion tracking is fundamental for successful campaigns on Shopify. By diligently following these steps and understanding the platform's nuances, you can ensure your ad spend is optimized based on accurate, real-time sales data. If you continue to face challenges, consider seeking assistance from a digital marketing expert specializing in Shopify and Google Ads tracking. At WebCareSG, we routinely help Shopify merchants ensure their tracking is flawless and their ad campaigns are performing optimally. Contact us today for a comprehensive tracking audit.
Related WebCare Solutions
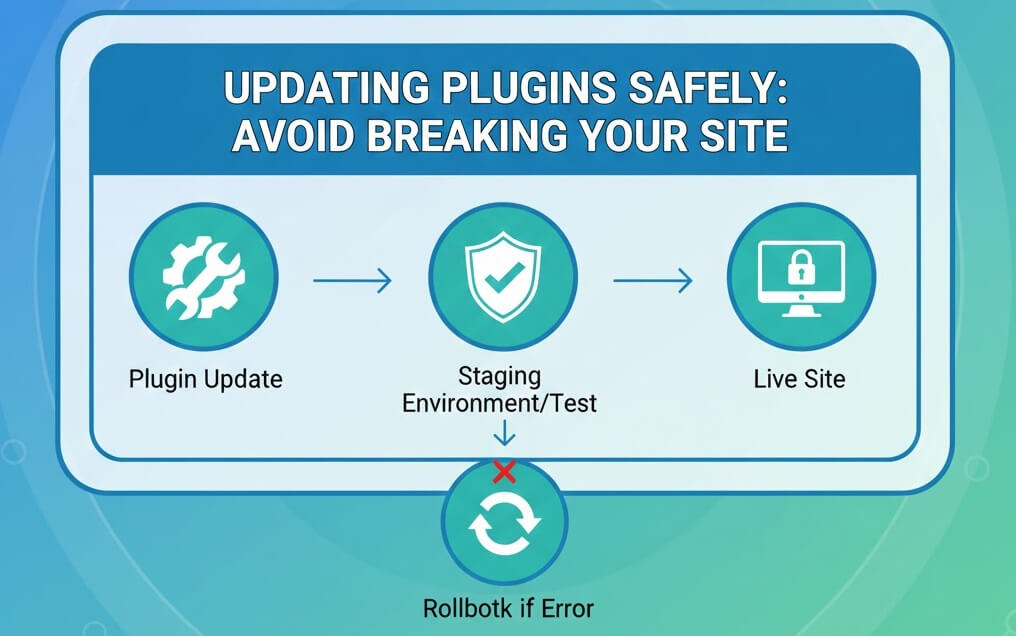
Updating Plugins Safely: Avoid Breaking Your Site
A comprehensive step-by-step tutorial on maintaining WordPress stability through safe plugin update protocols, staging tests, and troubleshooting.
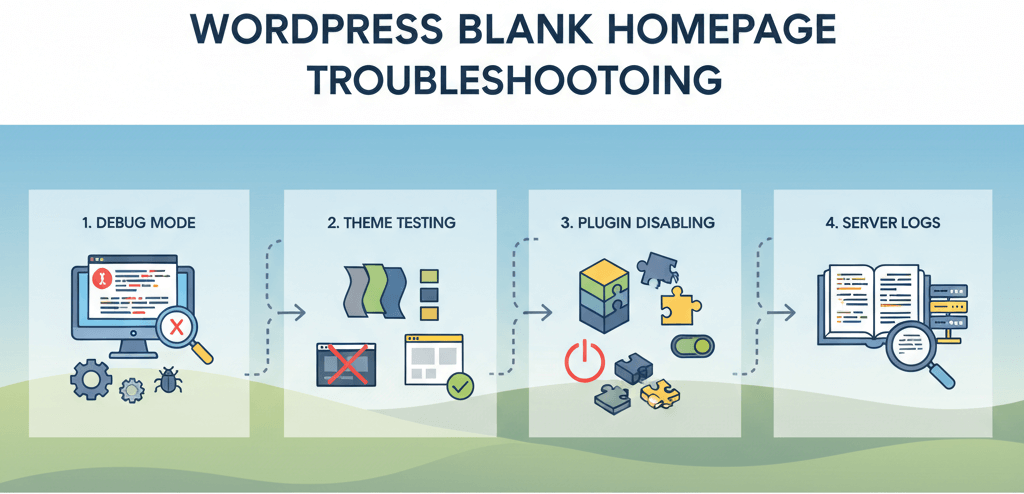
Fix a Blank Homepage (White Screen of Death)
A practical guide with quick checks to restore your homepage by enabling debug mode, testing a default theme, and disabling plugins to find the culprit of a blank screen.
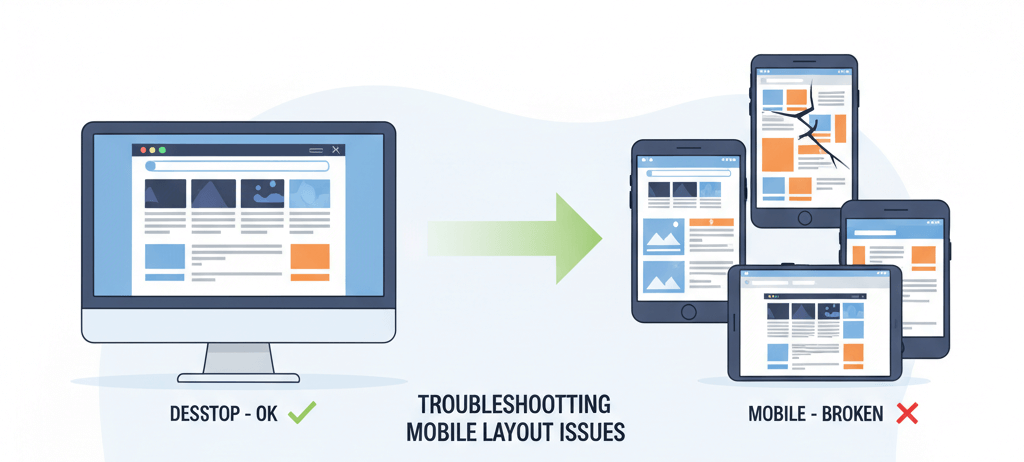
Mobile Layout Looks Wrong but Desktop is Fine: A Responsive Design Troubleshooting Guide
Inspect responsive breakpoints, viewport meta tag, mobile-specific CSS, and plugin/theme mobile settings causing layout shifts.
Ready to get started?
Focus on your business while we fix your website. Contact WebCareSG today for fast, reliable solutions!
Whatsapp us on