You have installed yet another plugin on your WordPress website. It promises to add a useful feature, and the reviews look decent. So you click install, activate, and move on with your day. Weeks pass. Your website starts feeling sluggish. Pages take longer to load. Visitors click away before your content even appears. You check your hosting plan - it has not changed. You call your developer - they say nothing is broken. But something is clearly wrong, and the answer is hiding in plain sight inside your WordPress dashboard.
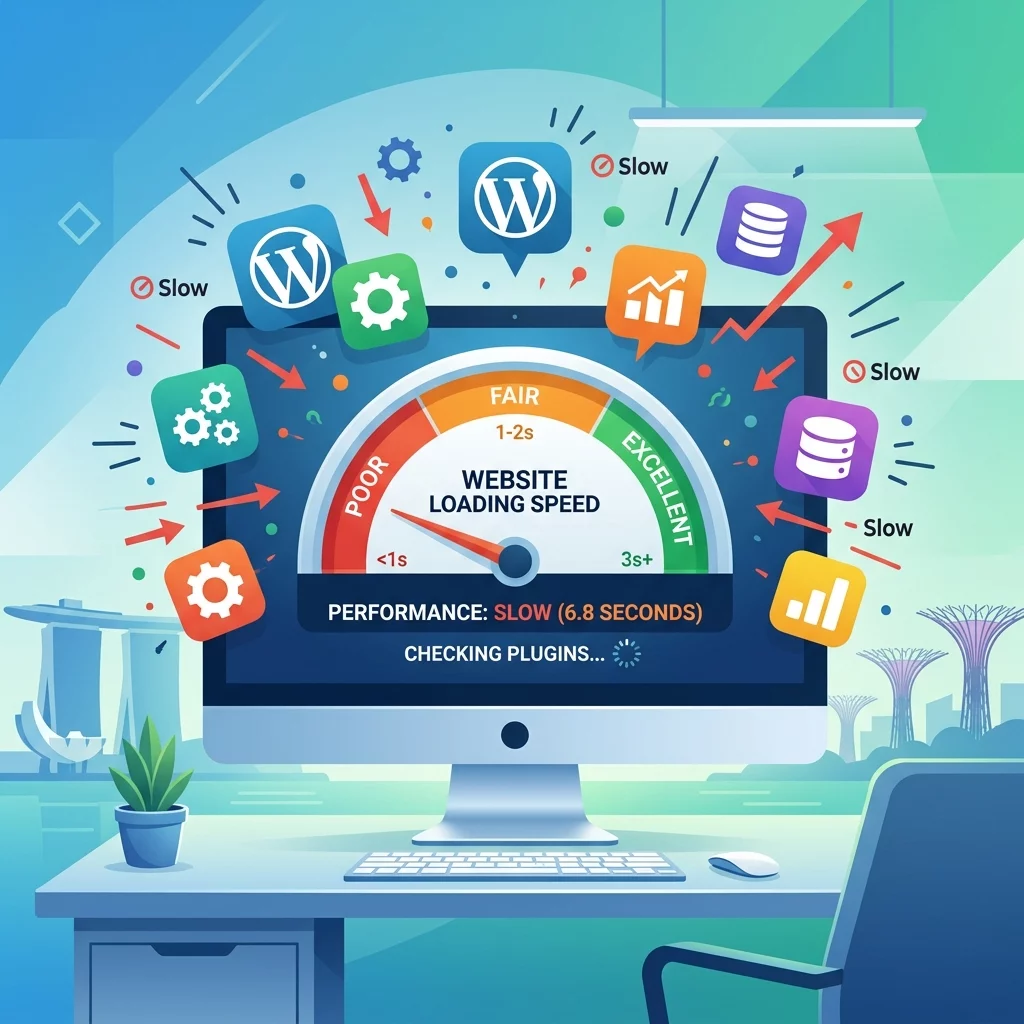
Every plugin you add to your website runs code every time someone visits a page. Some plugins make small, quick database queries. Others run complex scripts, load external resources, or execute processes that take noticeable time. The average Singapore business website now has between 20 to 50 plugins installed. Many have far more. Each one adds weight to your site, and that weight accumulates invisibly until visitors start to feel it as slow loading times, delayed interactions, or frustrating waiting screens.
This matters more than most business owners realize. When your website takes more than three seconds to load, approximately half of your visitors will leave and never come back. This is not a small problem. For a business that relies on their website to attract customers, generate leads, or process orders, every lost visitor is a potential sale that walked out the door. The solution is not always to pay for more hosting or faster servers. Often, the fastest and cheapest fix is to understand what your plugins are doing and remove the ones that are hurting you.
Why Plugin Overload Is a Silent Performance Killer
When we talk about website speed, Singapore business owners often think about their hosting plan, their design, or their images. Very few think about their plugins, and that is exactly why plugin overload has become such a widespread problem. Plugins are easy to install. They require no technical knowledge. They do something visible and useful right away. The cost is invisible until your website has accumulated so much overhead that it starts dragging like a car with a trailer full of bricks.
The danger is compounded by how plugins work together. One plugin might load a JavaScript file that waits for another plugin to finish before it can run properly. Another plugin might make database calls that lock tables, slowing down every other request. Plugin A might work perfectly fine on its own, and Plugin B might work perfectly fine on its own, but together they create a bottleneck neither developer predicted because they never tested for that specific combination. Your website becomes a complicated machine where every new part affects every other part in ways no one fully understood when they built it.
Singapore's business environment adds another layer of urgency. Your competitors are a click away. A potential customer comparing two businesses will always prefer the one with the faster, more responsive website. If your site loads slowly and a competitor's site loads quickly, you lose the comparison without anyone consciously deciding against you. The damage is not dramatic. It is quiet, constant, and cumulative. You lose opportunities you never knew you had.
Understanding What Is Happening On Your Website
Before you can fix the problem, you need to understand its size. Many business owners have no idea how many plugins they have installed or what those plugins are doing. The WordPress dashboard shows you the list, but it does not tell you which ones are consuming resources, which ones are loading files, or which ones might be causing conflicts. You need better tools for this job.
Your web browser has developer tools built in. If you are using Chrome, press F12 to open them. Click on the Network tab, then reload your website homepage. You will see a list of every file that loads when someone visits your site. There will be JavaScript files, CSS files, images, and fonts. Many of these come from your plugins. Each item that loads takes time, and the total time is the sum of all of them. This is why adding more plugins makes your site slower. Every plugin adds more files to this list, and every file takes additional time to download and process.
The longer list of files means more HTTP requests. Each request involves a round-trip from the visitor's browser to your server and back. On a fast server with a good network connection, this round-trip might take 50 milliseconds. Multiply that by 50 files and you are already at 2.5 seconds of pure network time before any code even runs. Then the JavaScript files execute, the database queries run, and the total time before your visitor sees your content can easily reach five, eight, or ten seconds.
Step 1: Audit Your Current Plugin List
Open your WordPress dashboard and navigate to Plugins. You will see a list of everything installed on your website. Before you do anything else, take a screenshot or copy this list into a document. You need a record of what you started with so that if anything goes wrong during your cleanup, you can restore what you had.
Now read through the list and ask yourself three questions about each plugin. First, do I know what this plugin does? Second, is it actively helping my business or my visitors? Third, when did I last use it? If a plugin was installed for a one-time purpose that is no longer relevant, it is a candidate for removal. If you do not know what a plugin does, research its name. There are thousands of plugins and most have documentation or reviews that explain their purpose. If after research you still cannot find a good reason for a plugin to exist on your site, remove it.
Be especially suspicious of plugins that were installed by previous developers, agencies, or themes without your knowledge. Some themes and plugins bundle additional plugins as dependencies. Others add them automatically during installation. These hidden additions often run background processes, update checks, or scheduled tasks that consume resources even though you never asked for or needed them.
Step 2: Measure Your Current Speed Baseline
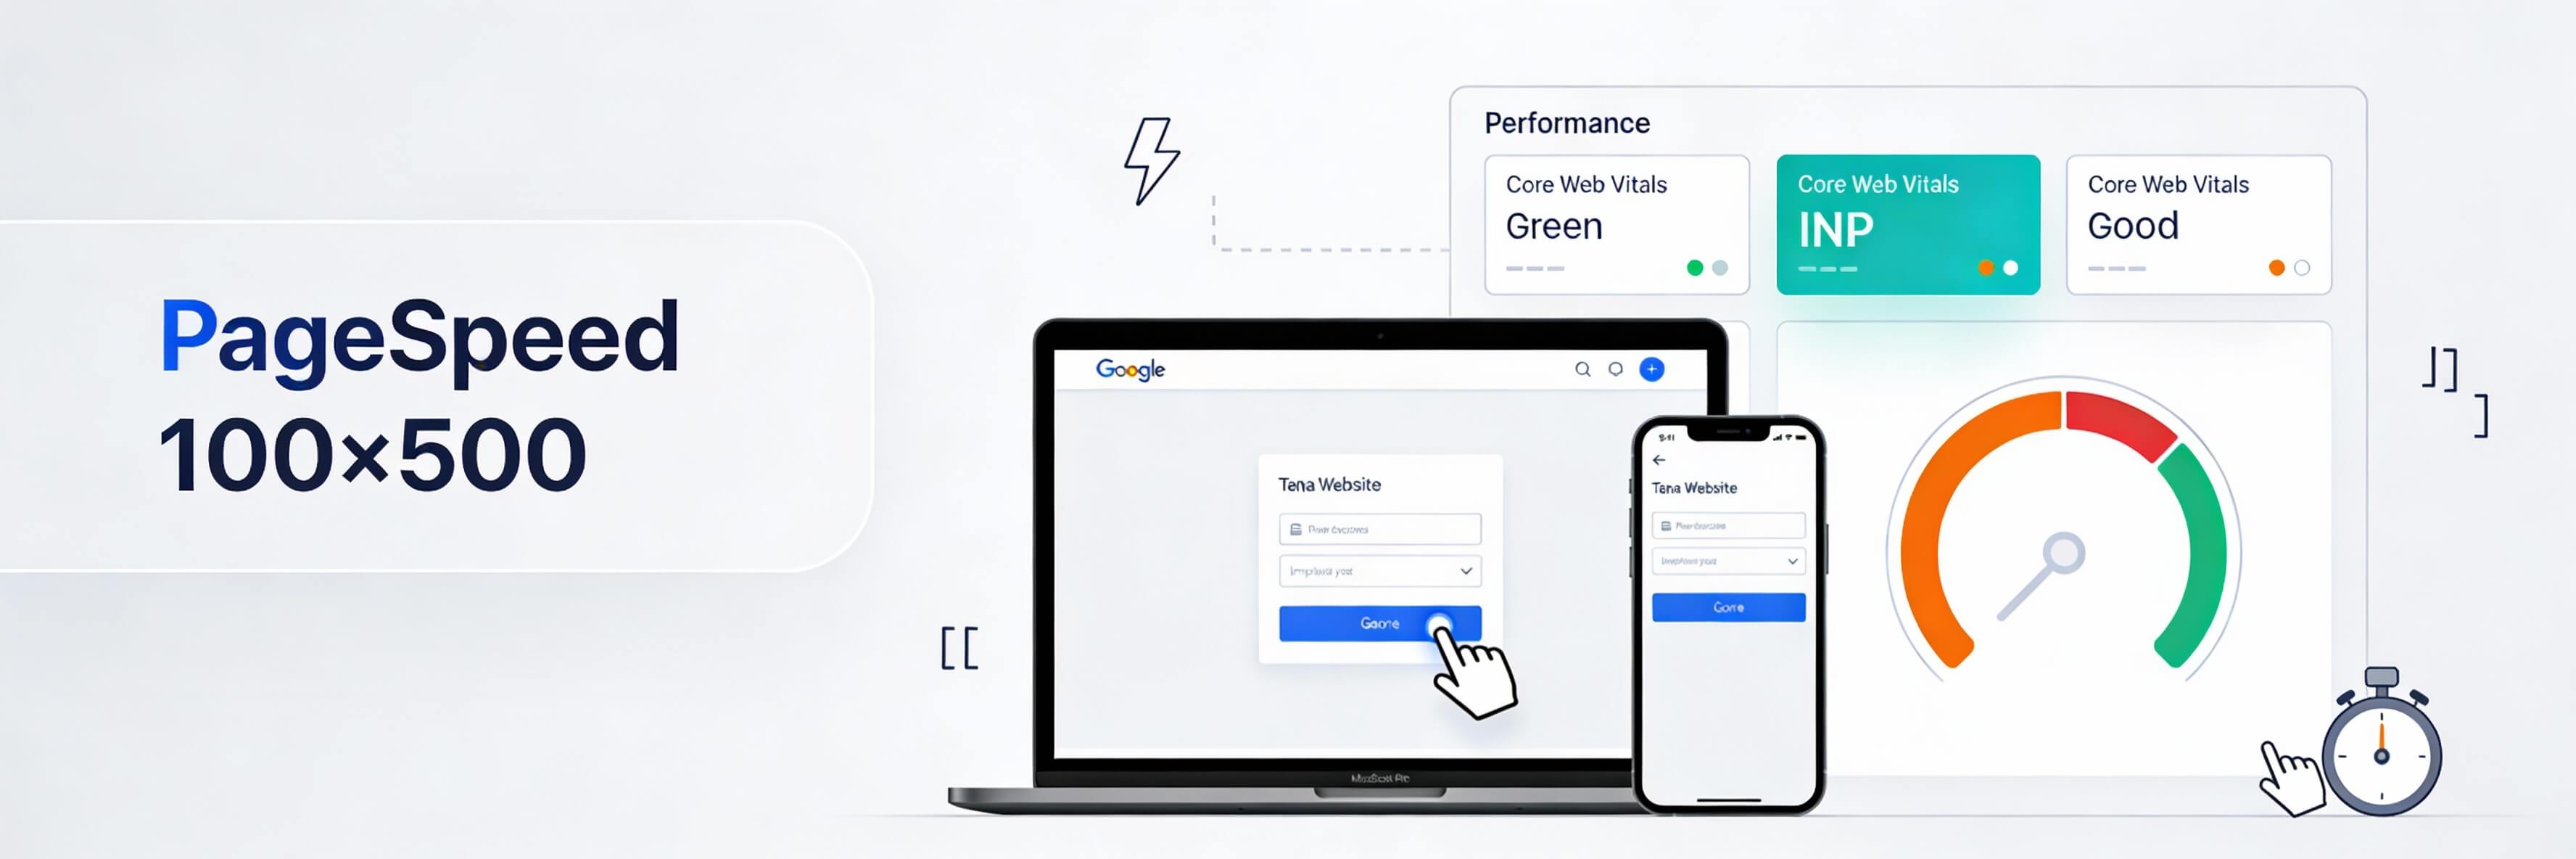
Before you change anything, measure where you are starting from. Go to Google PageSpeed Insights at pagespeed.dev and enter your website URL. This tool will give you a score out of 100 for both desktop and mobile performance, along with specific suggestions for improvement. Write down your scores. You need to know your starting point so you can tell if your changes are making things better or worse.
Also use GTmetrix, which is available at gtmetrix.com. This tool shows you a waterfall chart of every file loading on your page, including how long each file takes and in what order it loads. This is the most valuable view for understanding plugin impact, because you can literally see which files are coming from which plugins and how much time each one is adding to your total page load time.
Take screenshots of these reports as your baseline. After you make changes, run the same tests again and compare the results. If your scores improve, your changes are working. If they do not improve, you may need to take a different approach or investigate other causes of slowness.
Step 3: Remove Plugins You Do Not Need
Now that you know what you have and where you stand, start removing plugins. The safest approach is to deactivate a plugin first, test your website to make sure nothing visibly breaks, and only then delete it. Never delete plugins without deactivating them first, and never delete plugins during business hours when visitors are on your site. Choose a quiet time, ideally during a weekend evening, when you have space to troubleshoot if something goes wrong.
Start with the easiest candidates. Plugins that duplicate functionality are obvious targets. If you have two plugins that do the same thing, keep the better one and remove the other. Many Singapore websites have both a caching plugin and a security plugin that includes caching features. The duplication is unnecessary and adds overhead. Pick one solution and remove the overlap.
Remove plugins that were installed for one-time purposes. A plugin for a temporary campaign, a plugin used once for a migration, or a plugin that enabled a short-term feature should be removed once its purpose has passed. These plugins sit in your system doing nothing except consuming resources. They serve no ongoing purpose and every single one of them adds to your page weight.
Delete any plugin you cannot identify or research. If a plugin does not have a clear purpose, if it has no recent updates, if it has poor reviews or no reviews at all, it is safer to remove it than to leave it running on your website. A missing feature you did not know you were using is far less damaging than a security vulnerability or a performance problem you cannot trace.
Step 4: Update Everything Before Testing
Once you have removed unnecessary plugins, update everything. WordPress itself, your theme, and every active plugin should be running their latest versions. Outdated software is a security risk and often a performance risk. Newer versions of plugins frequently include optimizations that were not present in older releases, so updating is both a security practice and a speed optimization.
Before you run your speed tests after making changes, clear your browser cache and any server-side cache you might have. Use your hosting control panel or your caching plugin settings to purge all cached content. Otherwise, your test results might be misleading because they could be showing cached content that does not reflect your actual website performance for new visitors.
Run the same GTmetrix and Google PageSpeed tests you ran in Step 2. Compare the waterfall charts. Look for the number of files that load, the total page weight, and the time to first byte. These three metrics will show you clearly whether your plugin cleanup made a difference. If your total files count dropped significantly and your scores improved, you are moving in the right direction.
Step 5: Replace Heavy Plugins With Lighter Alternatives
Some plugins serve essential functions but do so in a way that consumes excessive resources. For example, some backup plugins run entire backup processes inside your visitors' browsers, slowing down every page load. Others load fonts, sliders, or animation libraries that add bulk without adding business value. When you encounter a plugin that does something important but does it in a resource-heavy way, look for alternatives.
Search for lightweight alternatives before removing anything. Type the name of the heavy plugin into Google along with the words lightweight alternative or performance comparison. Read what other users have experienced. Often there is a simpler plugin that does 80 percent of what the heavy plugin does while using 20 percent of the resources. For most Singapore small business websites, that tradeoff is worth making.
When evaluating alternatives, test them on a staging copy of your website if you have one. If you do not have a staging environment, install the alternative alongside your current plugin, test both thoroughly, compare the performance impact, and only then remove the old one. Never remove a working tool before you have confirmed that its replacement works correctly on your specific website configuration.
Step 6: Implement Caching To Offset Plugin Overhead
Even after removing unnecessary plugins and replacing heavy ones, you will likely still have some overhead from the essential plugins your business needs. The solution is not to remove all plugins. Some are genuinely necessary. The solution is to reduce how much work your server has to do for each visitor, and the best tool for that is caching.
Install a quality caching plugin. WP Super Cache or W3 Total Cache are popular options. If you are on managed WordPress hosting, your host may already provide server-level caching and you may not need a plugin at all. Check with your hosting provider before adding another plugin. If they already cache your pages, adding a caching plugin could cause conflicts rather than improvements.
Configure your caching plugin properly. The default settings are often not optimized for Singapore servers or Singapore visitors. Set your cache expiry time to something reasonable, enable browser caching headers, and make sure your CSS and JavaScript files are minified. The goal is to serve cached content to repeat visitors rather than running the full plugin pipeline on every single page view.
Step 7: Monitor Performance Regularly
Website performance is not a one-time fix. It is an ongoing responsibility. Set a reminder to run your GTmetrix report once every month. Track your scores over time. If you see performance degrading, it is usually because new plugins were added, or because existing plugins received updates that changed their behavior. Catching problems early is much easier than recovering from a severe performance collapse.
Before installing any new plugin, test it on a staging environment first. If you do not have a staging environment, install it on your live site during your quiet time window, run a quick speed test before and after, and if the performance impact is significant, find an alternative. Do not accept a plugin simply because it does what you need it to do. Accept it only if it does what you need without making your visitors wait.
Singapore businesses that treat their website as a living, evolving asset rather than a set-and-forget installation will always outperform competitors who neglect ongoing maintenance. Your plugins are tools. Like any tools, they need to be appropriate for the job, properly maintained, and replaced when they wear out. Paying attention to this one aspect of your website can transform slow, frustrating experiences into fast ones that keep visitors engaged and coming back for more.
If you still need help, feel free to contact us at https://webcare.sg/contact for a free website health check.