Every week, WordPress websites across Singapore get compromised. In most cases, the owner had no idea their password had been cracked until they found their site redirected to something they never created, or worse, locked out of their own admin panel entirely. The damage goes beyond just the website. A hacked site can hurt your Google rankings, scare away customers, and cost thousands of dollars to clean up. If you run a business website on WordPress, one of the simplest and most effective things you can do right now is enable two-factor authentication, also known as 2FA. This guide will walk you through exactly how to do it, step by step, even if you are not technical.
Two-factor authentication adds a second layer of security to your login. Even if someone steals your password through a phishing email or a data breach on another site, they still cannot get into your WordPress dashboard without a code that only you can access. That code lives on your phone. In this guide, we will show you how to set this up properly on your WordPress website, what authentication apps to use, and what to do if you ever lose access to your second factor.
Why Singapore Business Owners Should Enable Two-Factor Authentication Now
Singapore has one of the highest internet penetration rates in the world. Your customers expect your website to be safe and secure. More importantly, Google actively penalises websites that have been compromised in search rankings. If a hacker gains access to your WordPress admin area, they can inject malicious code, create spam pages, or use your server to send phishing emails. All of these will get your domain flagged by Google and cause your search traffic to drop significantly.
Beyond SEO, consider the direct cost. Singapore's Personal Data Protection Act (PDPA) requires you to protect customer data. A breach resulting from a weak password could expose you to PDPA investigations and fines. Enabling 2FA is a proportionate, low-cost measure that demonstrates reasonable security practice. It is also far easier to set up than dealing with the aftermath of a compromised site.
Understanding What Two-Factor Authentication Does For Your WordPress Site
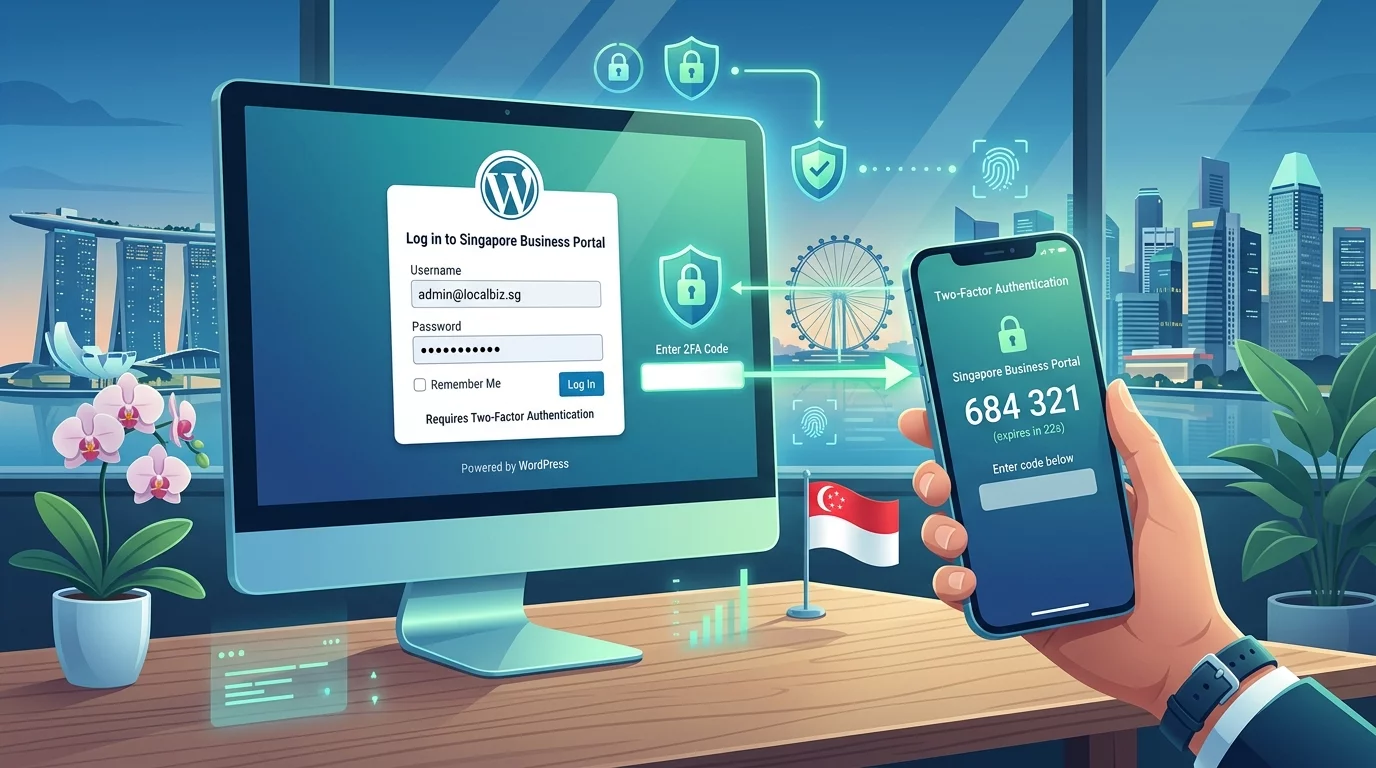
When you log into WordPress with just a password, you are using a single factor of authentication. That password might be guessed, stolen from another breach, or captured through a keylogger. Two-factor authentication adds a second requirement. After entering your password, you must also enter a temporary code that changes every 30 seconds. Without access to your phone, a hacker cannot produce this code, even with your password.
There are three main types of second factors used today. The most common for websites is a time-based one-time password, known as a TOTP. These are the six-digit codes you see in authentication apps like Google Authenticator or Authy. The second type is SMS-based codes sent to your phone number. While common, this is considered less secure because SIM swapping attacks can intercept SMS messages. The third type is a hardware security key, which is very secure but impractical for most small business owners. For this guide, we will focus on TOTP using a mobile authentication app, as it offers the best balance of security and convenience.
Step 1: Choose and Install an Authentication App on Your Phone
The first step is to install a good authentication app on your smartphone. We recommend either Google Authenticator or Authy. Google Authenticator is straightforward and works well for most people. Authy is more flexible because it lets you back up your accounts across multiple devices, which is useful if you upgrade your phone. Both are free and available on both iOS and Android.
To install Google Authenticator on an iPhone, open the App Store, tap Search, type "Google Authenticator," and tap the Get button to install. For Android phones, open the Google Play Store, search for "Google Authenticator," and tap Install. If you prefer Authy, search for "Authy" in the App Store or Play Store and install it the same way. Once installed, keep the app open on your phone as we move to the next step.
Step 2: Install a Two-Factor Authentication Plugin on Your WordPress Site
WordPress does not have built-in two-factor authentication, so you need to install a plugin. There are several good options. For beginners, we recommend WP 2FA or Two-Factor. Both are free, well-maintained, and have straightforward setup wizards. To install a plugin, log into your WordPress admin dashboard and navigate to Plugins on the left sidebar. Click Add New, then type "WP 2FA" into the search bar. Find the plugin in the results and click Install Now. After installation, click Activate.
Once the plugin is activated, you will see a new menu item labelled WP 2FA in your WordPress sidebar. Click on it to open the setup wizard. The plugin will ask you whether you want to enforce 2FA for all users or make it optional. If you are the only administrator on your site, we recommend making it mandatory for all users, including yourself. If you have multiple editors or authors, you may want to start with mandatory enforcement for administrators only and roll it out to others gradually.
Step 3: Connect Your Authentication App to Your WordPress Site
Now comes the part where you link your phone app to your WordPress account. In the WP 2FA setup wizard, select the option to use a mobile app as your authentication method. The plugin will display a QR code on your screen. Open the Google Authenticator or Authy app on your phone, and tap the plus (+) button to add a new account. In Google Authenticator, tap the blue plus sign at the bottom right. Select Scan Barcode, then point your phone camera at the QR code displayed on your WordPress screen.
If you are using Authy, open the app, tap Add Account, and choose Scan QR Code. Point your camera at the QR code on your WordPress dashboard. The app will recognise the code and add a new entry for your WordPress site. It will display a six-digit number that refreshes every 30 seconds. This is your authentication code.
Back on your WordPress screen, the plugin will ask you to enter the code currently shown in your app to verify the connection. Type the six-digit number into the WordPress field and click Verify. If the code is correct, your app is now linked to your WordPress account.
Step 4: Save Your Backup Codes in a Safe Place
After verifying your app, the plugin will present you with a set of backup codes. These are one-time-use codes that will let you log in if you ever lose access to your authentication app, such as if your phone is lost, stolen, or replaced without transferring your accounts. Write these codes down or take a screenshot and store them somewhere safe. We recommend saving them in a password manager like 1Password or LastPass, or even printing them and keeping them in a locked drawer at your office.
Most plugins give you ten backup codes. Each code can only be used once. If you use several of them and start running low, you can return to the WP 2FA settings page and generate a new set of backup codes. Keep in mind that generating new codes will invalidate any unused codes from the previous set, so make sure you have used or securely stored the old ones first.
Step 5: Configure Settings for Other Users on Your Site
If you have other people who log into your WordPress site, such as content writers, marketing staff, or a web developer, you should ensure they also have 2FA enabled. Go back to the WP 2FA settings page and look for an option called Policy or Enforcement. You can set it to require two-factor authentication for all users. When other users next log in, they will be prompted to set up their authentication app just like you did.
Some plugins let you create groups with different 2FA requirements. For example, you might require all admin-level users to use hardware keys, while allowing editors to use an app. Take a moment to review who has access to your WordPress site. Go to Users in the WordPress sidebar, review the list, and deactivate any accounts that are no longer needed. Every active account is a potential entry point for a hacker.
Step 6: Test Your Two-Factor Authentication Setup
Once you have configured everything, log out of your WordPress admin panel and log back in to confirm the system is working. You should see a prompt asking for your authentication code. Open your app, find the six-digit code for your WordPress site, enter it, and complete the login. If it works, you have successfully set up two-factor authentication.
If you are using Authy, note that it can show codes on multiple devices. If you have Authy installed on both your phone and a tablet, both devices will show the same codes. This is convenient for backup but means anyone with access to either device can generate valid codes. Consider disabling multi-device support in Authy settings if you want maximum security.
What to Do If You Lose Access to Your Authentication App
If your phone is lost or your authentication app stops working, do not panic. Use one of the backup codes you saved in Step 4 to log in. Enter a backup code in the 2FA field on the login page. Once inside, you can reconfigure your authentication app by going to your user profile and selecting Edit Profile. Find the 2FA settings and choose to reset or reconfigure your app. Scan the new QR code with your new or restored phone.
If you do not have access to backup codes, some hosting providers can help you regain access. If you use a managed WordPress host like SiteGround, Kinsta, or WP Engine, contact their support team. They can sometimes verify your identity and reset 2FA settings from their side. This process typically takes a few hours and requires you to confirm your identity through official documentation.
Additional Security Measures to Consider Alongside 2FA
Two-factor authentication is powerful but it is not a complete security strategy on its own. You should also ensure your WordPress core, themes, and plugins are always updated to the latest versions. Outdated software is one of the most common ways hackers gain access to WordPress sites. Enable automatic updates where possible, or check your site at least once a month for available updates.
Use a strong, unique password for your WordPress admin account. Avoid passwords that include your business name, your name, or common words. A strong password is at least 12 characters long and includes a mix of uppercase letters, lowercase letters, numbers, and symbols. Consider using a password manager to generate and store these passwords securely.
Your WordPress hosting matters too. Choose a reputable host that actively monitors for threats and provides a web application firewall. Many Singapore business owners choose hosts like SiteGround or Cloudways for their reliable performance and security features. Ask your host what security measures they have in place, particularly around brute-force login protection and malware scanning.
Monitoring Your Site After Enabling 2FA
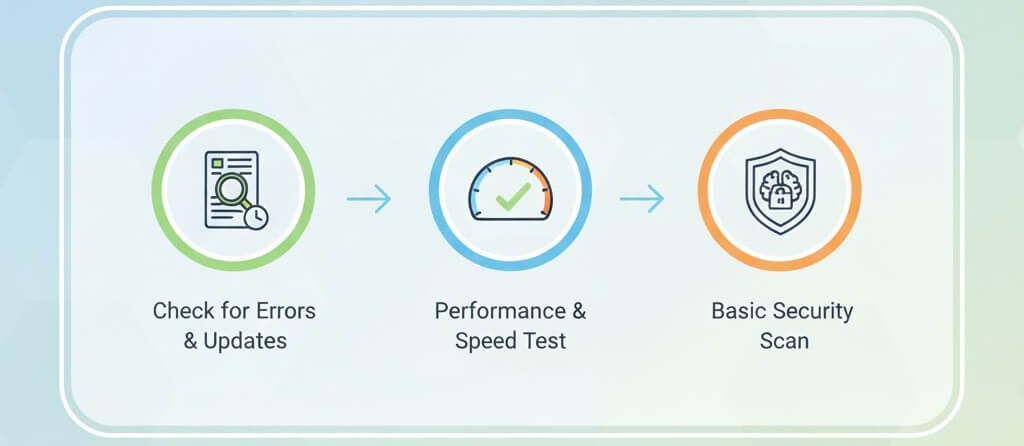
Once 2FA is active, check your site regularly to ensure everything continues to work smoothly. Pay attention to any error messages during login. Some plugins, particularly those that block login attempts or use firewall rules, can occasionally interfere with the 2FA process. If you notice unusual behaviour after installing a new security plugin, test your 2FA login again to confirm it still works.
You can also use a security monitoring plugin like Wordfence or Sucuri to track login attempts. These tools log every login attempt to your site and alert you if someone tries many failed passwords in a short time, which is a sign of a brute-force attack. With 2FA enabled, most of these attacks will fail automatically, but it is still useful to be aware of who is targeting your site.
If you still need help, feel free to contact us at https://webcare.sg/contact for a free website health check.