What is Caching? A Simple Explanation for Website Owners

Ever wonder why some websites load instantly while others crawl along? The secret often lies in something called "caching." If you're a website owner, understanding caching is crucial for improving your site's speed, enhancing user experience, and even boosting your search engine rankings. But what exactly is caching, and how does it work? Let's break it down with a simple analogy.
The Barista Analogy: Your Website's Personal Coffee Order
Imagine your website is a bustling coffee shop, and each visitor is a customer ordering a coffee. Without caching, every time a new customer comes in (or an existing customer places the same order again), the barista has to:
- Grind fresh beans.
- Heat the water.
- Brew the coffee.
- Add milk/sugar.
- Serve the coffee.
Now, let's introduce caching:
Scenario 1: Browser Caching (The Customer Remembers Their Order)
Think of browser caching like a regular customer (your website visitor) who comes in every day and orders the exact same latte. After the first day, the barista (your website server) makes the coffee. But the customer (their browser) remembers exactly how it's made and even keeps a mental note (stores a copy of the website's static files like images, CSS, and JavaScript) of the ingredients and steps.
- First Visit: The browser has to download all the website's files from the server.
- Subsequent Visits: When that same customer visits again, their browser first checks if it already has the "recipe" (the cached files) saved from a previous visit. If the recipe hasn't changed and isn't "stale," it just uses its local copy. This is much faster because it doesn't need to ask the barista (server) to make everything from scratch again, reducing the work for both the browser and the server.
Scenario 2: Server Caching (The Barista Pre-Makes Popular Orders)
Server caching is like the barista being super efficient. They notice that "Latte with extra foam" is a very popular order, so they decide to pre-make a batch and keep it warm and ready to serve instantly. Instead of making each latte from scratch every time, they just pour from the pre-made batch.
- Without Server Caching: Every time a user requests a page, the server has to gather all the data, run scripts (like PHP for WordPress), query databases, assemble the HTML, and then send it to the browser. This is dynamic content generation.
- With Server Caching: The server generates the complete HTML version of a page once and stores it as a static file. When another user requests that same page, the server simply serves the pre-generated (cached) HTML file instead of going through the entire process of building the page from scratch. This drastically reduces the server's workload and the time it takes for the page to load.
Most modern websites use a combination of both browser and server caching for maximum speed and efficiency. This is vital for overall site speed and fixing issues like why your website is slow.
How to Set Up Caching for Your WordPress Website
If your website runs on WordPress, setting up caching is relatively straightforward thanks to excellent plugins. Two of the most popular and effective are WP Rocket and W3 Total Cache.
Important Note: Never run more than one caching plugin simultaneously, as they can conflict and break your site. If you switch plugins, always deactivate and uninstall the old one first, and clear all caches.
Option 1: WP Rocket (Recommended for Ease of Use)
WP Rocket is a premium (paid) caching plugin known for its user-friendliness and "set it and forget it" approach. It offers comprehensive caching features right out of the box.
-
Purchase and Install:
- Go to the WP Rocket website, purchase a license, and download the plugin file (
.zip). - In your WordPress admin, go to "Plugins" > "Add New" > "Upload Plugin." Choose the downloaded
.zipfile and click "Install Now," then "Activate Plugin."
- Go to the WP Rocket website, purchase a license, and download the plugin file (
-
Basic Setup (Mostly Automatic):
- Upon activation, WP Rocket automatically applies many recommended caching best practices. You'll notice an immediate improvement in speed.
- Go to "WP Rocket" in your WordPress admin menu.
- Cache: The "Cache" tab is where you control page caching. Ensure "Enable caching for mobile devices" and "Enable caching for logged-in WordPress users" are checked if applicable to your site.
- File Optimization: This tab is crucial.
- CSS Files: Check "Minify CSS files" and "Combine CSS files" (test combining carefully, as it can sometimes cause issues). Enable "Optimize CSS delivery" (Remove Unused CSS is a powerful feature but requires careful testing).
- JavaScript Files: Check "Minify JavaScript files" and "Combine JavaScript files" (again, test combining thoroughly). Enable "Load JavaScript deferred" and "Delay JavaScript execution" (highly recommended for Core Web Vitals, but test all functionalities after enabling).
- Media: Enable "LazyLoad" for images and iframes. This loads media only when they enter the viewport, saving bandwidth and speeding up initial page load.
- Preload: Enable "Preload Cache." This tells WP Rocket to generate cached versions of your pages proactively, so the first visitor doesn't have to wait for the cache to build.
-
Clear Cache:
- After any significant website changes (new posts, plugin updates, theme changes), always click "WP Rocket" > "Clear Cache" from the admin bar to ensure visitors see the latest version of your site.
- If your site isn't updating properly, clearing the cache is a key troubleshooting step, similar to solving website not loading properly issues.
Option 2: W3 Total Cache (Free, Advanced, More Complex)
W3 Total Cache is a powerful free plugin offering extensive control over various caching types. It has more settings and can be overwhelming for beginners but offers deep optimization potential.
-
Install:
- In your WordPress admin, go to "Plugins" > "Add New." Search for "W3 Total Cache," click "Install Now," then "Activate."
-
Basic Setup (Overview):
- Go to "Performance" > "General Settings" in your WordPress admin menu.
- Page Cache: Enable Page Cache. Choose "Disk: Enhanced" as the Page Cache Method for most shared hosting.
- Minify: Enable Minify. Choose "Manual" mode initially for granular control, or "Auto" and test thoroughly. Set Minify mode to "Disk."
- Database Cache: Enable Database Cache. Choose "Disk" as the method.
- Object Cache: Enable Object Cache. Choose "Disk" as the method.
- Browser Cache: Enable Browser Cache. This sets the HTTP headers to tell browsers how long to cache static files.
- CDN (Optional): If you use a CDN (Content Delivery Network), configure it here to offload static assets (images, CSS, JS) to geographically distributed servers, further speeding up global delivery.
-
Detailed Settings (Explore as Needed):
- Each caching type (Page Cache, Minify, Browser Cache, etc.) has its own sub-menu under "Performance." Dive into these for more advanced configurations.
- For example, in "Performance" > "Browser Cache," ensure "Set Last-Modified header," "Set expires header," and "Set Cache-Control header" are enabled.
-
Clear Cache:
- After making changes, or any time your site content updates, use the "Performance" > "Dashboard" or the "Performance" menu in the admin bar to "Empty all caches."
Caching is one of the most effective ways to boost your website's performance and provide a smoother experience for your visitors. By implementing both browser and server caching, whether through a user-friendly plugin like WP Rocket or a more advanced solution like W3 Total Cache, you're taking a significant step towards a faster, more efficient website. Remember to always test your site after implementing caching to ensure everything is working as expected. If you encounter issues or need expert help with advanced caching setups, don't hesitate to contact WebCareSG for professional website optimization and development support.
Related WebCare Solutions
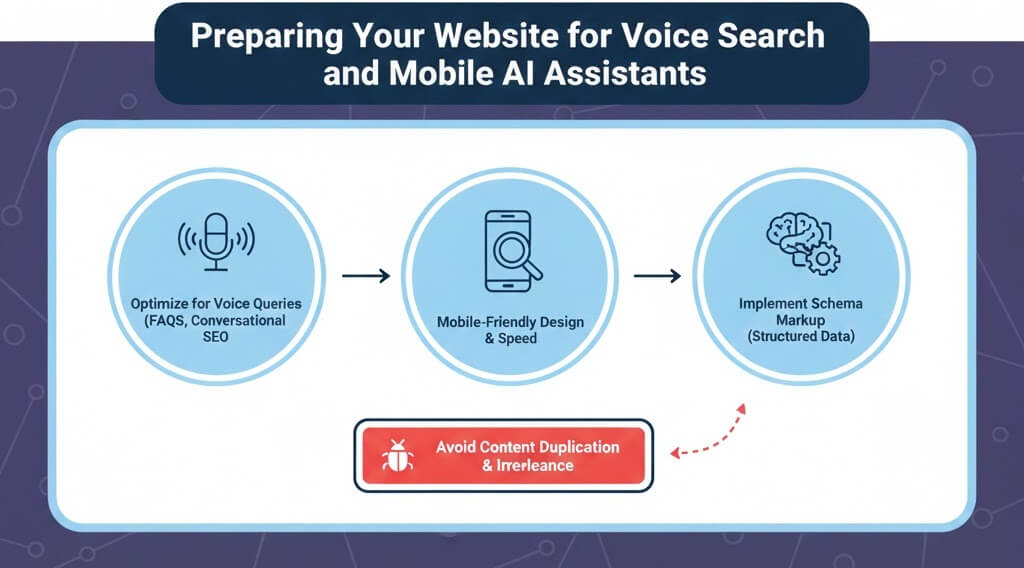
Preparing Your Website for Voice Search and Mobile AI Assistants
Learn how to optimize your site for the growing world of voice-activated search and AI assistants by mastering conversational keywords, local SEO, and schema markup.
Server-Side Tracking Broken? How to Debug GTM & GA4
A comprehensive guide to debugging broken server-side tracking, focusing on Google Tag Manager (GTM) server containers and Google Analytics 4 (GA4), including cloud setup errors and issues with dataLayer pushes from PHP.
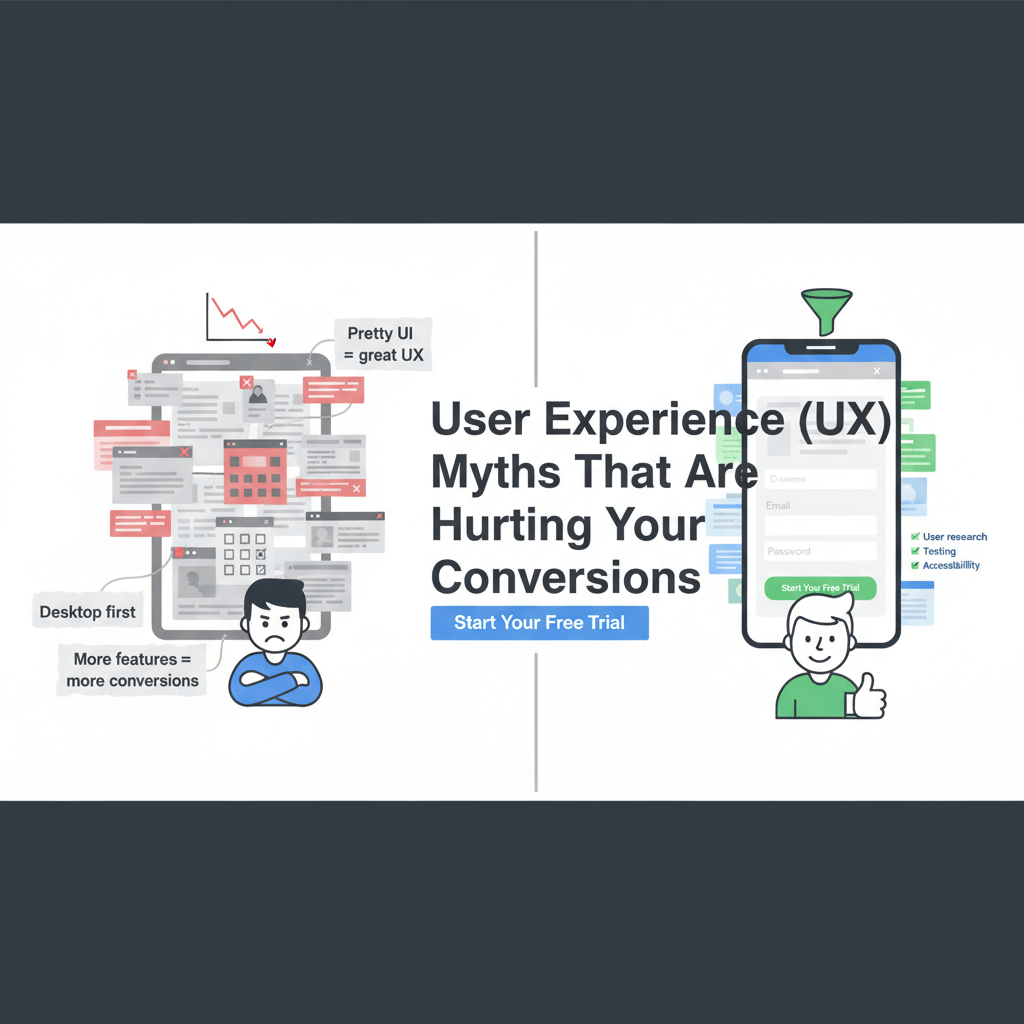
User Experience (UX) Myths That Are Hurting Your Conversions
Debunking common design misconceptions and replacing them with modern, data-driven UX principles to improve user engagement and sales.
Ready to get started?
Focus on your business while we fix your website. Contact WebCareSG today for fast, reliable solutions!
Whatsapp us on