What to Do When Your Website Shows a 'Not Secure' Warning
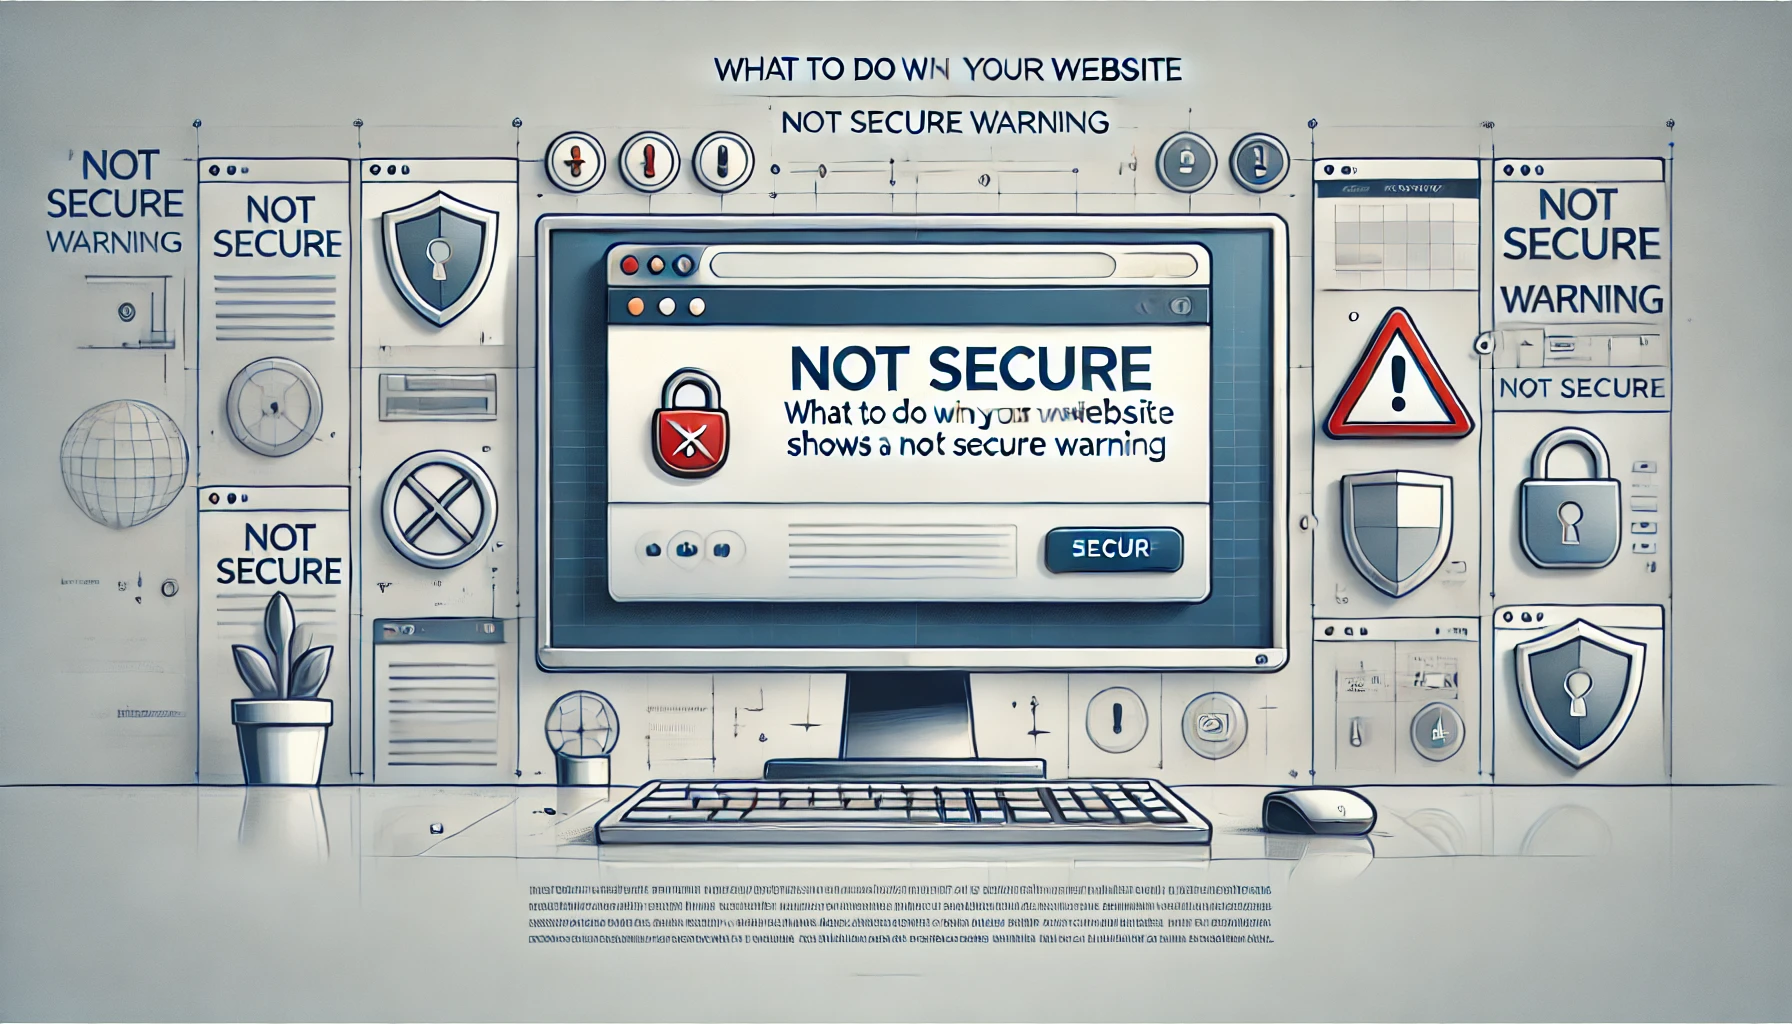
A 'Not Secure' warning on your website can deter visitors and harm your credibility. This warning typically appears when your website lacks a valid SSL certificate, compromising the security of data transmitted between your site and its users. In this guide, we’ll walk you through the steps to fix this issue and ensure your website is safe for users.
Understanding the 'Not Secure' Warning
The 'Not Secure' label is a browser notification indicating that your website does not use HTTPS (HyperText Transfer Protocol Secure). Without HTTPS, data exchanges on your website are vulnerable to interception, exposing sensitive information such as login credentials or payment details.
Steps to Fix the 'Not Secure' Warning
1. Check Your SSL Certificate
First, confirm whether your website has an SSL certificate installed. You can do this by looking at your website’s URL; if it starts with http:// instead of https://, it lacks SSL encryption. Use tools like SSL Checker to verify the certificate’s validity if you believe one is installed.
2. Purchase or Renew an SSL Certificate
If you don’t have an SSL certificate or it has expired, purchase or renew it through a trusted Certificate Authority (CA) or your hosting provider. Some hosting services, such as SiteGround or Bluehost, offer free SSL certificates via Let’s Encrypt.
3. Install the SSL Certificate
Once you have an SSL certificate, install it on your server. For cPanel-based hosting, navigate to SSL/TLS Manager and upload the certificate files. Alternatively, for Apache or Nginx servers, configure the ssl_certificate and ssl_certificate_key paths in the server configuration files:
- For Apache: Edit the
httpd.conforssl.conffile to include your certificate paths. - For Nginx: Add the
ssl_certificateandssl_certificate_keydirectives in your server block.
4. Update Internal Links and Resources
Update all internal links, scripts, and media files to use HTTPS. Mixed content (HTTP elements on an HTTPS page) can still trigger warnings. Use tools like the Why No Padlock checker to identify and fix mixed content issues.
5. Force HTTPS with Redirection
Configure your server to automatically redirect HTTP traffic to HTTPS. Add the following code to your .htaccess file for Apache servers:
RewriteEngine On
RewriteCond %{HTTPS} off
RewriteRule ^(.*)$ https://%{HTTP_HOST}%{REQUEST_URI} [L,R=301]
For Nginx servers, include the following in your configuration:
server {
    listen 80;
    server_name yourdomain.com;
    return 301 https://$host$request_uri;
}
6. Test Your Website
After making changes, test your website to ensure the 'Not Secure' warning is resolved. Check your browser’s address bar for the padlock icon, which indicates a secure connection. You can also verify the SSL setup using tools like SSL Labs.
Why Fixing This Issue Matters
- Build Trust: A secure website reassures visitors that their data is safe.
- Boost SEO: Search engines prioritize HTTPS websites in rankings.
- Compliance: Secure websites meet data protection standards like GDPR.
Conclusion
Addressing a 'Not Secure' warning is crucial for protecting user data, building trust, and maintaining compliance. While the steps above can help resolve the issue, technical configurations can be complex. If you need assistance, don’t hesitate to reach out to WebCareSG. Our team specializes in website security and can ensure your site is fully optimized and secure for your audience.
Related WebCare Solutions
What Are Keywords and How Do I Find Them?
A beginner-friendly guide to understanding keywords and mastering basic keyword research. Learn about search intent and leverage free Google tools like search suggestions and "People also ask" to uncover what your customers are truly searching for.
‘No Results’ in Google Ads? Fixing Tracking & Attribution
A comprehensive guide to troubleshooting and resolving discrepancies between Google Ads and Google Analytics, and fixing conversion tracking issues to get accurate campaign results.
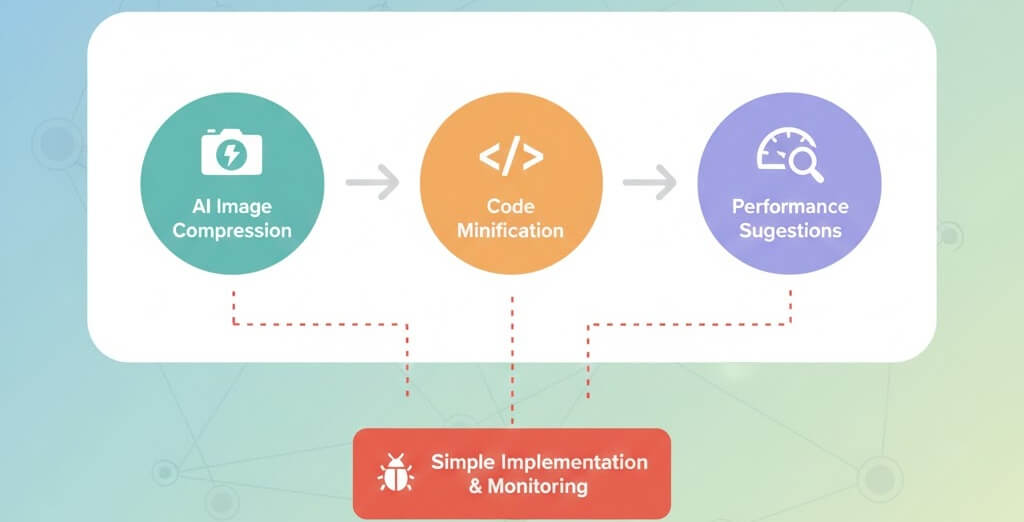
Speeding Up Your Site with AI Optimization Tools
Explore how AI-powered tools can automatically compress images, minify code, and provide smart performance suggestions to boost your website loading speed.
Ready to get started?
Focus on your business while we fix your website. Contact WebCareSG today for fast, reliable solutions!
Whatsapp us on