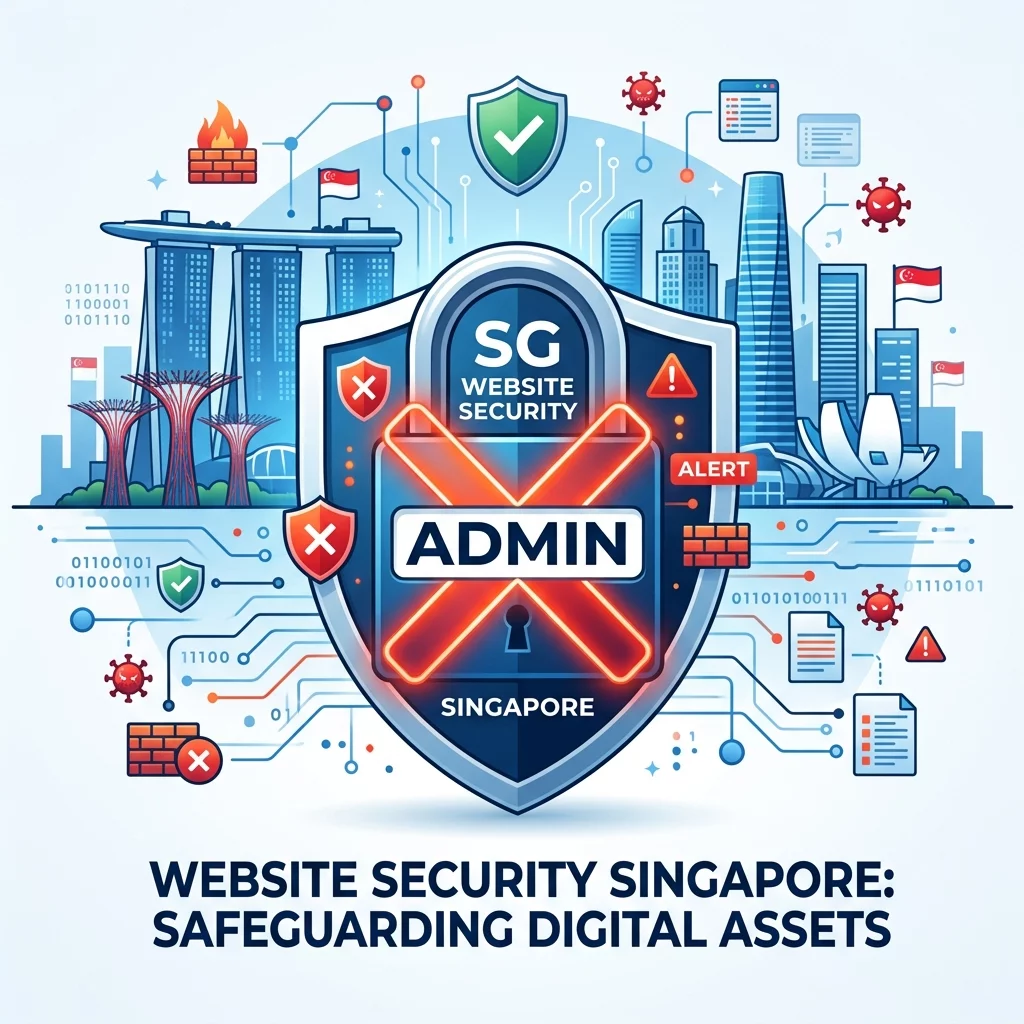
When you first set up your website, it is incredibly tempting to use simple, easy-to-remember credentials. Many Singapore business owners fall into the habit of using "admin" as their username. After all, it is the default choice that most website platforms suggest, and it feels natural. However, this seemingly harmless shortcut is actually one of the biggest security vulnerabilities you can leave on your website. Hackers around the world run automated programs that systematically try the username "admin" on millions of websites every single day. They know that millions of people still use this default username, and they take advantage of it. Your website becomes an easy target simply because you kept a predictable username that was never changed from the default setting.
In Singapore, where small and medium businesses increasingly rely on their online presence to attract customers, website security is not something you can afford to ignore. The Monetary Authority of Singapore has reported that cyber attacks targeting businesses in Southeast Asia have increased significantly over the past few years, and many of these attacks start with simple credential guessing. Using "admin" as your username is like leaving your front door wide open and hoping no one walks in. The good news is that fixing this problem is completely free, takes only a few minutes, and dramatically reduces your risk of being hacked. This guide will walk you through exactly why you should change your username immediately, and how to do it step by step, even if you have never touched your website's backend before.
Understanding Why Hackers Target the Username "Admin"
Before we get into the steps, it helps to understand exactly what hackers are doing when they target your website. Cybercriminals use automated tools called "bots" or "robots" that scan the internet constantly, looking for websites with weak login credentials. These bots are programmed to try the most common usernames first. The username "admin" sits at the top of every single one of these lists because it is the default setting on WordPress, Joomla, Drupal, and virtually every other popular website platform. Some bots also try variations like "administrator," "root," and "user." Once the bot confirms that "admin" is your username, the hacker only needs to guess your password, which cuts their work in half.
Singapore's business community is particularly vulnerable because many local businesses set up their first website years ago and have never returned to review the security settings. When you hired someone to build your website, they may have set up a temporary admin account during construction and left it in place. Over time, these forgotten accounts become a ticking time bomb. If that account still uses "admin" as its username and a weak password, your website is essentially wide open. The Singapore Computer Emergency Response Team has documented numerous cases where small business websites were compromised because of weak administrative credentials, leading to data breaches, customer information leaks, and damaged reputations that took months to repair.
Step 1: Log Into Your Website Dashboard
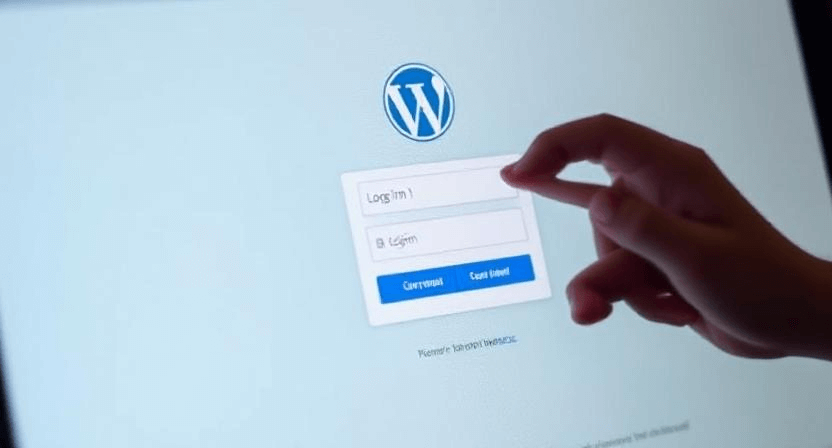
The first thing you need to do is log into your website is backend. This is usually referred to as the "admin panel" or "dashboard." For most people in Singapore, your website will be running either WordPress, which is the most common platform, or some other content management system. To log in, go to your website address followed by "/wp-admin" if you are using WordPress. For example, if your website is www.example.com, you would type www.example.com/wp-admin into your browser's address bar. Press Enter, and you will see a login page asking for your username or email and your password.
Enter the credentials you currently use to manage your website. If you do not know these credentials, check the emails you received when your website was first set up. Your web developer or the company that built your site should have sent you login details. If you cannot find these emails and you cannot log in, you may need to use your hosting provider's control panel to reset your password, or contact the person who built your site for you. For this step, you need to have valid login credentials. Without them, you cannot change anything, so take your time finding or recovering your login details before you proceed to the next step.
Step 2: Navigate to Your User or Account Settings
Once you are logged in, you will see your website dashboard. The layout may look different depending on which platform you use, but the concept is the same. In WordPress, look at the left-hand sidebar menu. You will see options like "Dashboard," "Posts," "Media," "Pages," "Comments," "Appearance," "Plugins," "Users," and "Settings." Click on the "Users" option. This is where you can see all the user accounts registered on your website, including the one you are currently using to log in.
In some versions of WordPress, this option may be called "Profile" or "Account" instead. If you see a "Users" section, click on it. You will see a list of all user accounts currently active on your website. Each row will show the username, the display name, the role (like Administrator, Editor, Author), and the email address associated with that account. You are looking for any account that has "admin," "administrator," "root," or any other default-sounding username. These are the accounts that need to be changed or removed.
Step 3: Identify All Accounts Using Default or Predictable Usernames
Take a close look at the list of users. You are looking for accounts that use simple, predictable usernames. The most dangerous ones are those with the username "admin" because that is the first thing hackers will try. Other risky usernames include "administrator," "root," "user," "test," "demo," "editor," and any variation of your own name or your company name that would be easy for someone outside to guess. Write down the usernames of every account that worries you. Do not worry about making a mistake here. You can always come back and check again. The goal is to identify which accounts represent a security risk.
If you find an account with the username "admin" that you no longer use, do not just change its username. That account should be deleted entirely because it may have a weak password attached to it that you do not even remember exists. Any account you do not actively use is a potential entry point for hackers. Delete unused accounts rather than just renaming them. This is a critical security habit that many Singapore business owners overlook. When you delete an account, make sure you are not deleting your own active account by mistake. Always double-check the username before you click delete.
Step 4: Create a New Administrator Account With a Strong Username
Now that you have identified the risky accounts, you need to create a replacement. You cannot simply rename an existing account to a new username in most platforms. Instead, you need to create a brand new account with a strong, unique username, then transfer full administrative control to that new account. In WordPress, go to the "Users" section and click "Add New" at the top of the page. You will see a form asking for a username, an email address, a password, and a role.
For the username, choose something that no one outside your team would be able to guess. A good approach is to use a phrase that only you know, combined with numbers or initials that have meaning to you. For example, instead of using "admin" or "john," you could use something like "SGbiz2024Mornings" or "lioncity_digital_owner." Avoid using your full name, your company name, or your birthday, because all of this information is often publicly available on social media. Hackers do research on their targets by checking LinkedIn, Facebook, and Instagram to gather information that helps them guess passwords and usernames. Choose something obscure but memorable to you.
For the password, use the strongest password your platform allows. Most platforms will show you a strength indicator as you type. A strong password should be at least twelve characters long and include a mix of uppercase letters, lowercase letters, numbers, and special characters like exclamation marks, question marks, or symbols. Do not use common words, your name, your birthday, or any combination that a human could reasonably guess within a few attempts. The best passwords are random strings of characters. You can use a password manager to generate and store these passwords so you do not have to memorize them all. Singapore's Cyber Security Agency recommends using a password manager as one of the simplest and most effective security measures any individual or business can take.
Step 5: Assign the Administrator Role to Your New Account
When creating the new user account, you will see an option to select the "Role." Choose "Administrator" from the dropdown menu. This gives your new account full control over your website, including the ability to change themes, install plugins, manage other users, and modify all content. This is exactly the same level of access that the old "admin" account had. Once you have filled in all the fields, click the "Add New User" or "Create" button to save the account. WordPress may ask you to confirm your action before completing the process.
After creating the new account, you should immediately log out of your current session and log back in using the new credentials. This confirms that the new account works correctly and that you did not make any mistakes when entering the username or password. It also confirms that you can indeed access the full administrative dashboard with this new account. If something goes wrong and you cannot log in with the new account, you still have your old account as a fallback, which is why we did this step before deleting anything.
Step 6: Verify Your New Account Has Full Access
Once you have logged in with your new account, take a moment to explore the dashboard and confirm that everything looks correct. Try accessing a few different areas of the backend, such as the Posts section, the Pages section, and the Settings area. Click on the "Users" section again and confirm that your new account appears in the list with the "Administrator" role shown. Try modifying a page or a post and saving the changes. This tests whether your new account has full write access to your website is content. If you can perform all of these actions without any error messages or restrictions, your new account is working perfectly and you have full administrative control.
If you encounter any errors or restrictions, double-check that you selected the correct role when creating the account. Sometimes platform versions differ slightly in their wording. The role should say "Administrator" or something very similar that implies full access to all settings. If you selected the right role but still cannot access everything, you may need to contact your web developer or hosting provider for assistance, because this is unusual behavior for a newly created administrator account.
Step 7: Remove or Demote Old Accounts With Default Usernames
Now comes the critical security step. Go back to the "Users" section of your dashboard. Look at the list again and identify every account that uses a risky username like "admin," "administrator," "root," or anything else that would be easy for a hacker to guess. For each of these accounts, you have two options. If the account has never been used or you are certain it is no longer needed, click on the username to open its details, then look for a "Delete" option. Confirm the deletion when prompted. This permanently removes the account from your website.
If the account is actively used by someone on your team, do not delete it. Instead, change its username to something secure using the same principles described earlier. Look for an "Edit" option next to the username, click on it, and change the username field to something new and unique. Save the changes, then make sure the person who uses that account knows their new login credentials. It is also good practice to change that account is password at the same time, because you do not know how strong the original password was or who might have had access to it over the years.
Step 8: Enable Two-Factor Authentication as an Extra Layer of Security
Changing your username is a massive improvement, but you can make your security even stronger by enabling two-factor authentication, commonly abbreviated as 2FA. This is a feature that requires you to enter a second piece of information, typically a temporary code sent to your phone, in addition to your password when logging in. Even if a hacker somehow obtains your password, they still cannot log in without also having access to your phone or authentication app. This second layer of protection stops most automated attacks completely, because the bot trying your login credentials does not have access to your phone.
In WordPress, look for a security plugin that supports two-factor authentication. Popular options include "Wordfence," "iThemes Security," and "Jetpack." Install one of these plugins from the "Plugins" section of your dashboard, then follow the plugin is setup instructions to enable two-factor authentication. Most plugins will ask you to download an authentication app on your phone, such as Google Authenticator or Authy. Once the app is linked to your account, you will see a new field on your login page asking for the temporary code. From now on, you will need both your password and this code every time you log in. It takes an extra five seconds, but it makes your website dramatically more secure.
Step 9: Set Up Login Attempt Limits
Another powerful security feature available through most security plugins is login attempt limiting. This feature automatically blocks anyone who tries to log into your website unsuccessfully too many times in a short period. Remember the bots we discussed earlier? They try hundreds or thousands of password combinations per minute. With login attempt limiting enabled, the bot will be blocked after just a handful of failed attempts, effectively stopping the attack in its tracks. Without this feature, the bot can keep trying forever until it eventually guesses your password.
To enable this feature, go to your security plugin settings and look for an option called "Login Attempt Limiting," "Brute Force Protection," or something similar. The exact wording varies by plugin, but the concept is the same. Enable the feature, and set the maximum number of failed attempts allowed before a temporary lockout is triggered. A common and effective configuration is to allow five failed attempts, then lock the account out for thirty minutes. After that thirty-minute period, the user can try again. This is enough to stop automated bots without making it too inconvenient for you if you occasionally forget your password.
Step 10: Document Your New Credentials Securely
Once you have completed all the steps above, you need to store your new login credentials somewhere safe. Do not write them on a sticky note attached to your computer monitor, do not save them in a plain text file on your desktop, and do not email them to yourself. These are all common ways that credentials get stolen. Instead, use a password manager. There are many reliable options available, including Bitwarden, which is free and open source, 1Password, which is popular among teams, and LastPass, which offers both free and paid tiers.
If you prefer to keep a physical record, write your credentials on a piece of paper and store it in a locked drawer or safe that only you can access. Do not write the username and password next to each other. Write the username somewhere safe and the password in a different location. This way, even if someone finds the paper, they still need both pieces of information to access your site. Many Singapore businesses underestimate the risk of physical credential theft, but it happens more often than you might think, especially in shared office spaces or home office environments.
If you ever need to share these credentials with a web developer, employee, or agency, always change the password afterward. Every person who has access to your administrative credentials is a potential point of failure. The fewer people who have access, and the more frequently you change passwords, the safer your website becomes. Singapore's Personal Data Protection Act also requires businesses to take reasonable steps to protect customer data, and weak website security can potentially expose customer information in ways that create legal liability.
If you still need help, feel free to contact us at https://webcare.sg/contact for a free website health check.