When Singapore business owners invest in video content for their websites, they often overlook one critical feature that can make or break accessibility for a significant portion of their audience: captions. Whether you are posting promotional videos on your homepage, creating training content for your team, or sharing customer testimonials, captions ensure that your message reaches everyone, including the millions of people in Singapore and worldwide who are deaf or hard of hearing, as well as those who watch videos with the sound muted in public spaces or quiet environments. Yet many business owners do not fully understand the difference between closed captions and open captions, and making the wrong choice can lead to compliance issues, poor user experience, or unnecessary extra costs. This guide breaks down everything you need to know in plain, simple terms so you can make an informed decision for your website.
The difference between closed captions and open captions sounds technical, but it is actually quite straightforward once you understand what each term means. Open captions are permanently burned into the video file itself. This means the text appears on screen whenever the video plays, on any device, on any platform, and cannot be turned off by the viewer. Closed captions, on the other hand, are stored separately from the video as a data file, and they are decoded and displayed by the video player only when the viewer deliberately turns them on. The word "closed" refers to the fact that the caption data is closed or hidden until the viewer chooses to open it. Think of it like a subtitle track on a DVD: you can choose to display it or not, and the underlying video file remains unchanged. Understanding this single distinction will shape how you approach video accessibility on your Singapore business website.
For Singapore business owners, the choice between closed captions and open captions has real practical consequences that affect your budget, your workflow, and your legal exposure. The Website Content Accessibility Guidelines, which form the foundation of many international accessibility standards, explicitly recommends closed captions for pre-recorded video content. Singapore is also aligning more closely with international accessibility expectations as digital government services expand, and businesses that receive government grants or work with large corporate partners may face accessibility requirements that make closed captions the safer choice. Beyond compliance, closed captions give your viewers the power to control their own experience, which is generally preferred in modern web design philosophy. Open captions have their place, however, and there are situations where they are genuinely the better choice for a small business in Singapore.
Step 1: Identify What Kind of Video Content You Have on Your Website
The first practical step is to take inventory of all the video content currently published on your website. Log into your website content management system and make a list of every page that contains a video. Note down the platform used to host each video, whether it is a YouTube embed, a Vimeo embed, a self-hosted video player like VideoJS, or something else entirely. This matters because the method you use to add captions depends heavily on where your videos are hosted. Some platforms handle captions automatically once you upload them, while others require you to manually configure caption files for each video. Go through each page systematically and note the video hosting method for each one. This inventory will serve as your action checklist for the next steps.
Step 2: Understand Your Video Hosting Platform Caption Options
Each major video platform handles captions differently, and understanding these differences will save you hours of frustration. If your videos are hosted on YouTube, you have access to YouTube's built-in caption editor, which allows you to upload a caption file in SubRip (.srt) format or use YouTube's automatic speech recognition to generate captions automatically. YouTube automatically associates closed captions with your video, and viewers can toggle them on or off using the caption button on the video player. This is the closed caption model. If your videos are hosted on Vimeo, you can upload caption files in WebVTT (.vtt) format, and Vimeo similarly treats these as closed captions that viewers can enable or disable. If you are using a self-hosted solution like WordPress with a plugin such as VideoSlider or similar, you typically need to upload a separate .vtt caption file through your media library and then attach it to the video in the plugin settings.
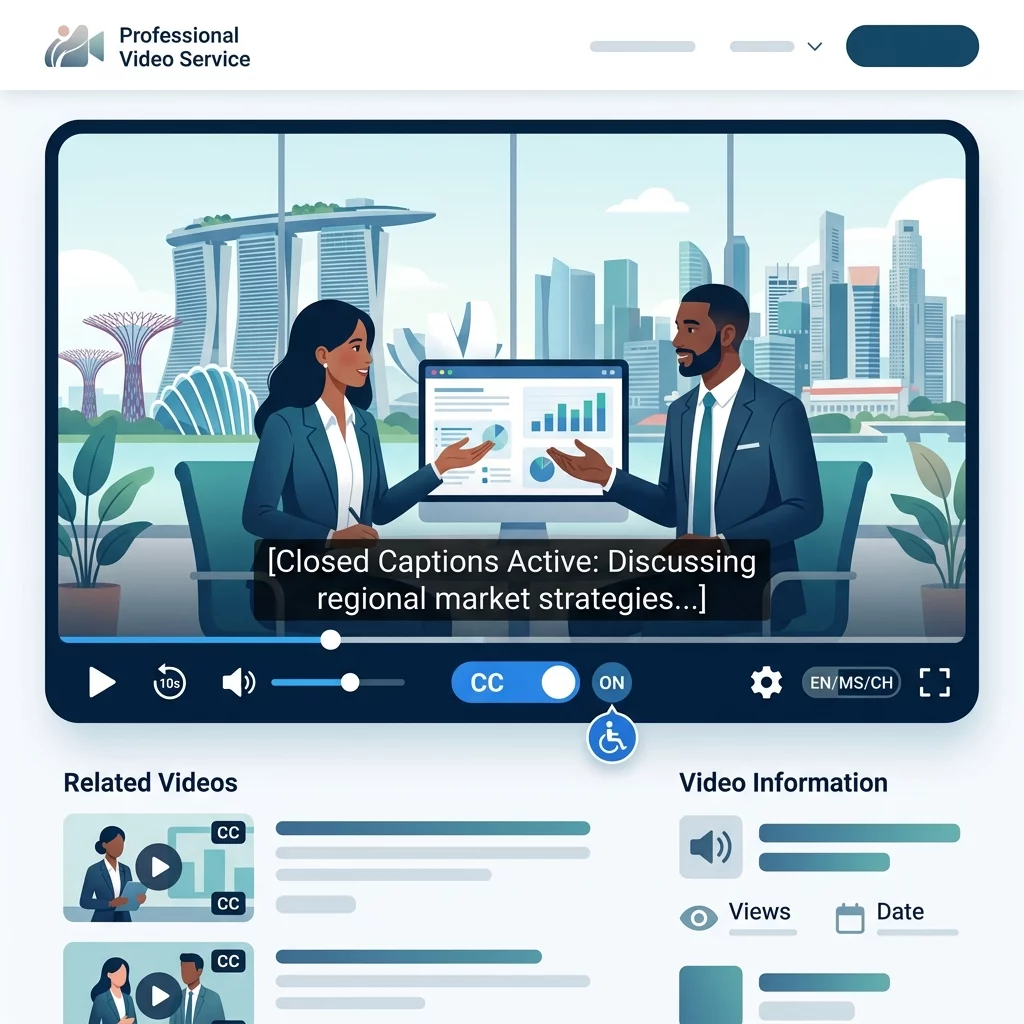
The important thing to check is whether your current website setup supports closed captions natively or whether you would need to upgrade your hosting arrangement to use them. Go to one of your video pages right now and try playing the video. Look for a small button in the video player that shows letters "CC" or the word "Captions." If you see it, your platform supports closed captions and you are halfway there. If you do not see it, you may need to switch video hosting platforms or update your video player plugin to a version that supports captions.
Step 3: Generate Caption Files for Your Videos
Once you have confirmed that your platform supports captions, the next step is to actually create the caption files. A caption file is simply a text document that contains the spoken words in your video along with timing information that tells the video player when to display each line of text. The most common format is WebVTT, which uses the .vtt file extension and looks like a simple text file with time codes. You can create these files manually by watching your video and typing out what is said, noting the start and end time for each spoken phrase. This sounds tedious, but for a short promotional video of two to three minutes, it is very manageable. Simply open a text editor, type the WebVTT header, and then list each caption line with its corresponding timestamp. Many free online tools can help you format these correctly if you are not comfortable doing it manually.
Alternatively, you can use automatic captioning tools to speed up the process. YouTube's automatic captions are generated by speech recognition and are generally good enough for a first draft, though you should always review them for accuracy because automatic transcription can make errors, especially with names of products, places, or technical terms specific to your industry. If you use Vimeo, their automatic captioning feature is available on paid plans and works similarly. For self-hosted WordPress videos, you can use a tool like Amara or captioning software to generate a .srt file, then convert it to .vtt format for web use. The goal is to have an accurate caption file ready to upload before you move to the next step.
Step 4: Upload Caption Files and Enable Closed Captions on Your Video Player
Now that you have your caption files ready, it is time to attach them to your videos and activate the caption functionality. The exact steps differ slightly depending on your platform, but the overall process is similar. For YouTube, go to your video manager, select the video you want to caption, click the "Subtitles" option on the left sidebar, choose your language, and either upload your .srt caption file or edit the auto-generated captions. Once saved, YouTube automatically activates closed captions for that video. For Vimeo, go to your video settings, click on the "Captions" tab, and upload your .vtt file. Vimeo will then display a caption toggle button on the video player for all viewers. For WordPress with a video plugin, go to the media library, upload your .vtt caption file, note its URL, and then open the post or page containing your video. In the video block or plugin settings, look for a "Captions" or "Subtitles" field and paste the URL of your .vtt file. Save and publish your changes.
After making these changes, visit your video page as a test viewer. Play the video and look for the caption toggle button. Click it to confirm that captions appear on screen. Verify that the timing looks correct and that the text matches what is being said. If captions appear but the timing is off, you can adjust the timestamps in your .vtt file and re-upload it. If captions do not appear at all, double-check that the caption file was uploaded correctly and that the video player setting is pointing to the right file URL. Small details like file naming and path accuracy can prevent captions from working, so check these carefully.
Step 5: Decide Between Closed Captions and Open Captions for Future Videos
Going forward, you will need to make a deliberate choice for each new video you publish on your website. Closed captions are almost always the recommended choice for business websites because they preserve the original video file without any text burned in, giving you flexibility to use the same video across multiple platforms without visual clutter. If you upload the same video to YouTube, embed it on your website, and perhaps use it in a presentation, closed captions mean the text only appears where you want it to. Open captions, however, are simpler to implement for very small businesses that do not want to manage separate caption files and do not anticipate needing to export their videos to multiple platforms. If you are creating short, simple videos purely for your own website and you want the text to always be visible without requiring viewers to click any buttons, open captions may be appropriate. But even in that case, consider that open captions cannot be turned off, which some viewers find distracting or annoying, and the text may not look good if your video player resizes differently on mobile devices.
The practical way to add open captions is to use video editing software to add a text overlay directly onto the video frames before uploading. Tools like Kapwing, Canva, or even basic video editors allow you to type out your captions and position them at the bottom of the video frame. Once the text is part of the video file, it is permanently visible and cannot be removed by the viewer. This approach is simple but inflexible, so use it only when you are certain you will not need the clean video for any other purpose.
Step 6: Test Your Video Accessibility on Multiple Devices and Browsers
After you have enabled captions on your videos, the final step is to verify that they actually work for your viewers. Do not assume that because captions work on your computer, they will work everywhere. Test your video on at least three different devices: a desktop computer running Chrome, a mobile phone running Safari or Chrome, and a tablet. Check that the caption toggle button appears and functions on each device. Sometimes caption files that work perfectly on desktop browsers fail to load on mobile due to CORS restrictions or incorrect file paths. If you discover caption issues on mobile, you may need to host your caption file on the same domain as your website rather than linking to an external URL.
Ask a colleague or friend to watch one of your captioned videos with sound muted and confirm that they can follow the entire message using only the captions. This simple test will reveal whether your caption timing is accurate enough and whether the font size is readable on smaller screens. If your captions are too small or disappear too quickly, adjust the timing and re-upload the caption file. This kind of quality check takes only a few minutes per video but dramatically improves the experience for viewers who depend on captions.
Making captions a standard part of your video publishing workflow is not difficult, and the impact on your audience is enormous. Every viewer who can follow your content thanks to captions is a potential customer or brand ambassador who might otherwise have clicked away. By following the steps in this guide, you have taken a concrete step toward making your Singapore business website more accessible, more professional, and better aligned with modern web expectations. If you still need help, feel free to contact us at https://webcare.sg/contact for a free website health check.