Twitter/X Cards and Social Preview Optimization

When you share your website link on Twitter or X, have you ever noticed that sometimes it shows a nice preview with an image and description, but other times it just shows a plain URL with no context? That difference is not random. It is the result of something called Twitter Cards, and if you are a Singapore business owner, getting these right can make a real difference in how many people click through to your website from social media. In this guide, I will walk you through exactly what Twitter Cards are, why they matter for your business, and how to set them up step by step, even if you have no technical background.
Let us start with the basics. Twitter Cards are small bits of code that you add to your website telling Twitter what to show when someone shares your link. Think of it like a digital business card that appears whenever your website URL is posted on Twitter or X. Without these cards, Twitter has to guess what your page is about, and it often gets it wrong or shows nothing useful at all. With the right cards in place, you get a rich preview that includes your page title, a description, and an image. This makes your shared link stand out in a crowded social feed and gives people a reason to click.
For Singapore businesses, this is especially important. Our market is highly mobile and socially connected. People often discover local businesses through shared posts, especially during events like Great Singapore Sale, Chinese New Year, or National Day. If they see a generic URL instead of a compelling preview, they are far less likely to tap on it. But if they see a clear image, a catchy title, and a short description that speaks to them, you have won half the battle before they even land on your site. That first impression matters enormously when you are trying to build trust with a new customer who found you on social media.
The good news is that setting up Twitter Cards is not as complicated as it sounds. You do not need to hire a developer or change your entire website. Most modern websites and content management systems make this relatively straightforward. Let me walk you through the process step by step.
Step 1: Understand the Different Types of Twitter Cards
Before you start adding code, it helps to know what your options are. Twitter offers several card types, but the three most relevant for Singapore business owners are these. First, there is the Summary Card, which includes a title, description, and thumbnail image. This is the most basic and works well for most business websites. Second, there is the Summary Card with Large Image, which is the same as the Summary Card but with a bigger, more prominent image. This is ideal for blog posts, product launches, or any content where the visual really matters. Third, there is the Player Card, which is used for video or audio content. Most Singapore small businesses will not need this one unless you are running a media or entertainment site.
For a typical business website, I recommend starting with the Summary Card with Large Image. It gives you the best balance of visibility and professionalism without requiring any special setup.
Step 2: Add the Right Meta Tags to Your Website
Now that you know which card type you want, the next step is to add the corresponding meta tags to your website. Meta tags are small pieces of code that live in the head section of your web pages. They are invisible to visitors but contain information that Twitter reads when your link is shared.
The essential meta tags you need are these. First, you need the Twitter Card type tag, which tells Twitter which card style to use. This looks like meta name="twitter:card" content="summary_large_image". Second, you need the Twitter Site tag, which is your Twitter username preceded by the at symbol. This helps Twitter attribute the card to your account. Third, you need the Twitter Title tag, which is the title that appears in the card. Keep it under 70 characters for the best display. Fourth, you need the Twitter Description tag, which is a short summary of your page. Aim for under 200 characters. Fifth, you need the Twitter Image tag, which points to the URL of the image you want to display. This image must be at least 300 pixels wide and 150 pixels tall, and it should be in JPG, PNG, or WebP format.
Here is a concrete example of what these meta tags look like all together. You would place these inside the head section of your HTML, replacing the example values with your own content. The meta name="twitter:card" tag tells Twitter you want a large image preview. The meta name="twitter:site" tag identifies your business account. The meta name="twitter:title" and meta name="twitter:description" tags control the text that appears. And the meta name="twitter:image" tag points to your chosen image.
If you are using a platform like WordPress, Shopify, Wix, or Squarespace, you often do not need to edit HTML directly. Many of these platforms have built-in fields for social media metadata, or they have plugins that handle it for you. I will cover platform-specific instructions in Step 5.
Step 3: Choose and Prepare Your Image Correctly
The image you use in your Twitter Card is arguably the most important element. Studies consistently show that tweets with images get more clicks, retweets, and engagement than those without. For Singapore businesses, this means your social preview image should be professional, relevant, and properly sized.
The recommended image size for a Summary Card with Large Image is 1200 pixels wide by 630 pixels tall. This is known as the optimal display size. Your image can be larger, but keeping it close to these dimensions ensures it looks sharp on all devices, from mobile phones to desktop monitors. Twitter will crop images that are not the right aspect ratio, so sticking close to 1.91 to 1 is important.
When choosing an image, pick something that represents your business clearly. For a restaurant, this could be a photo of your signature dish. For a retail store, it could be a photo of your storefront or a featured product. For a service business, consider a clean, professional banner with your logo and tagline. Avoid using images with too much text overlaid, as Twitter may penalize cards with excessive text on images. Keep the design clean and let the image speak for itself.
Save your image in JPG or PNG format and upload it to your website. Make sure you note the exact URL of the image, because you will need to paste that URL into the meta tag. A common mistake is to use a relative path like /images/promo.jpg, but Twitter needs the full absolute URL like https://www.yourbusiness.com/images/promo.jpg.
Step 4: Test Your Twitter Cards Before Publishing
Before you go live with your new Twitter Cards, it is crucial to test them first. Twitter provides a free tool called the Card Validator that lets you preview exactly how your card will look when shared. This step is not optional in my opinion, because catching a formatting issue after the fact is much harder to fix than getting it right the first time.
To use the Card Validator, go to the Twitter Card Validator page on the Twitter developer website. You will need to log in with your Twitter or X account. Once logged in, paste the URL of the page you want to test into the input field and click the Preview button. Twitter will fetch the page, read the meta tags, and display a preview of exactly how your card will look.
Look carefully at the preview. Check that the title is not cut off, that the description makes sense, that the image displays correctly and is not cropped in a weird way, and that the overall appearance matches what you intended. If something looks wrong, go back to your website HTML and adjust the meta tags or image dimensions until the preview looks correct.
One common issue is that the Card Validator shows an error saying it could not fetch the card. This usually happens because the meta tags are not in the head section of the page, or because the image URL is broken, or because there is a robots.txt blocking Twitter's crawler. I will cover troubleshooting in Step 6.
Step 5: Platform Specific Setup Instructions
If you are not editing raw HTML, here is how to handle Twitter Cards on some of the most common platforms used by Singapore businesses.
For WordPress users, the easiest approach is to use a plugin like Yoast SEO, All in One SEO Pack, or Rank Math. These plugins have dedicated fields for social media metadata, and they automatically generate the correct meta tags for you. Once installed, go to the plugin settings and look for the Social Media or Social Sharing tab. From there, you can set default values for all your Twitter Card meta tags. For individual posts and pages, each of these plugins also lets you override the defaults with custom values specific to that piece of content.
For Shopify users, go to your online store's Settings, then click on Sharing in the Preferences section. You will see fields for adding a default image and description that will be used for social sharing. For more granular control, Shopify also lets you set social media images on a per-product or per-page basis through the media gallery in your admin panel. If you want to set specific titles and descriptions for each page, you can do so through the Search and Social Networking section in your store settings.
For Wix users, go to your Dashboard and click on Marketing Tools, then select Social Media Optimizer. From there, you can connect your social accounts and set default images and text for sharing. Wix also lets you customize the social preview for individual pages through the Page Settings panel.
For Squarespace users, the platform has built-in social sharing features. Go to Marketing, then Social Sharing. You can enable social sharing and set default values. For individual pages and blog posts, Squarespace lets you set a custom thumbnail image and excerpt through the page editor. Look for the Social panel when editing a page.
Step 6: Troubleshooting Common Twitter Card Issues
Even with careful setup, things can sometimes go wrong. Here are the most common issues Singapore business owners encounter with Twitter Cards and how to fix them.
Problem: The Card Validator says it cannot fetch the card. This is usually one of three things. First, check that your meta tags are in the head section of your HTML, not in the body. They must be between the opening head tag and the closing head tag. Second, make sure your image URL is complete and correct. The URL must start with http or https, and the image must be publicly accessible without requiring login. Third, check your robots.txt file to make sure it is not blocking Twitter's crawler. You can find your robots.txt at yourwebsite.com/robots.txt. If you see a line that says Disallow: /, you may be blocking all crawlers, including Twitter's.
Problem: The image is cropped incorrectly. Twitter automatically crops images to fit the card format. To control exactly what part of the image shows, avoid placing important content near the edges. Keep your most important visual elements in the center of the image. If your image keeps getting cropped in an undesirable way, try re-uploading a different image with a different composition.
Problem: The wrong title or description is showing. This usually means there are multiple sets of meta tags on your page, and Twitter is reading the wrong one. Some plugins and themes add their own Open Graph meta tags, which can conflict with your Twitter Card tags. Make sure you only have one set of Twitter Card meta tags in your head section. Also check that you do not have conflicting og:title or og:description tags from Open Graph, as some platforms pull from those as a fallback.
Problem: The card works on some pages but not others. This typically means the working pages have the correct meta tags but the non-working pages do not. Check that your website's template or theme is adding the meta tags to all pages, not just the homepage or blog posts. If you are using a plugin, make sure it is configured to add meta tags to all content types, including products, services, and landing pages.
Step 7: Monitor Your Results and Adjust
Once your Twitter Cards are live and working, the job is not quite done. You should monitor how your cards perform and make adjustments over time. Twitter does not provide a built-in analytics dashboard for card performance, but you can get some data through third-party tools like Sprout Social, Hootsuite, or Buffer. These tools can show you how many clicks your shared links receive and how your engagement compares over time.
Pay attention to which types of content generate the most engagement. If blog posts with large images are getting more clicks than product pages, consider using more visual content in your sharing strategy. If certain image styles or topics consistently underperform, experiment with different imagery or copy.
Also keep in mind that Twitter Cards are just one piece of your overall social media strategy. They work best when combined with compelling content, consistent posting, and genuine engagement with your audience. A beautiful Twitter Card will not help if the page it links to is slow, confusing, or uninteresting. Make sure your website delivers on the promise that your card makes.
Why This Matters for Your Singapore Business
Singapore has one of the highest internet penetration rates in the world, and a significant portion of our population accesses the web primarily through mobile devices. When someone sees your business shared in their Twitter feed, they are often scrolling on their phone during a commute, a lunch break, or while waiting for someone. You have only a split second to capture their attention. A well-designed Twitter Card gives them a visual anchor and a clear reason to tap. Without it, your link is just another URL in a sea of text.
For local businesses, this is even more critical. Singaporeans love to support local brands, but discovery often happens through social proof, recommendations, and viral posts. If your shared content looks professional and informative, people are more likely to perceive your business as trustworthy. If it looks like a bare URL, they may assume your business is not serious about its online presence and move on to a competitor.
Beyond clicks, Twitter Cards also help with brand consistency. When your link is shared by someone else, whether a happy customer, a partner, or a media outlet, your card ensures that the shared link represents your brand correctly every single time. This consistency builds familiarity and trust over time.
If you still need help, feel free to contact us at https://webcare.sg/contact for a free website health check.
Related WebCare Solutions

Incorrect Time Zone: Why Your WordPress Posts Are Showing the Wrong Date
Set the correct timezone in Settings → General, check server time, and ensure scheduled posts use site timezone.

How WebCareSG Fixes Websites Faster (Case Studies)
Discover WebCareSG's efficient approach to website troubleshooting and repair, illustrated with examples of common problems and our rapid resolution methods.
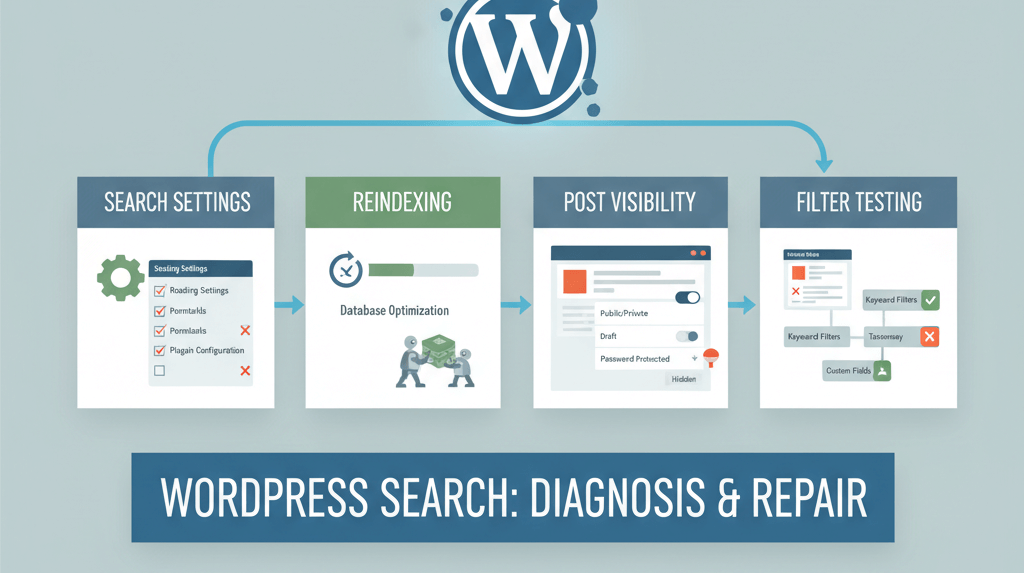
Search on Site Returns No Results or Wrong Items
A comprehensive guide to troubleshooting and fixing why your WordPress site search isn’t working, with steps to check settings, reindex content, and confirm post visibility.
Ready to get started?
Focus on your business while we fix your website. Contact WebCareSG today for fast, reliable solutions!
Whatsapp us on