When your Singapore business website loads slowly, you are not just losing visitors - you are losing customers. Studies show that a one-second delay in page load time can reduce conversions by up to 7 percent. For small businesses in Singapore competing with larger companies, every second matters. Customers expect your website to load instantly, whether they are browsing on their morning commute on the MRT or comparing your services during lunch break. If your website takes more than three seconds to load, there is a high chance they will click away to a competitor. This is why understanding how to speed up your website is not optional - it is essential for survival in today's digital marketplace.
One of the most effective ways to dramatically improve your website speed is by using a Content Delivery Network, commonly called a CDN. Think of a CDN as a network of servers spread across different locations around the world. When someone visits your website, the CDN serves your content from the server closest to them instead of making them wait for your origin server to respond from a distant location. For Singapore businesses, this means your customers in Jurong, Tampines, or Orchard can all access your website content from nearby servers, resulting in faster load times for everyone.
Cloudflare is one of the most popular and user-friendly CDN services available, and the best part is that they offer a free plan that works perfectly for small businesses. In this guide, we will walk you through the entire process of setting up Cloudflare on your website, step by step. No technical expertise is required. By the end of this guide, you will have your website running through Cloudflare's global network, delivering faster pages to your visitors and improving your search engine rankings in the process.
Step 1: Create Your Free Cloudflare Account
Before you can set up Cloudflare, you need to create an account. Visit cloudflare.com and click the Sign Up button in the top right corner. You will need to enter your email address and create a password. Make sure you use an email address you check regularly, as Cloudflare will send important notifications about your website to this address. After entering your details, click Create Account. You will receive a verification email - open it and click the confirmation link to verify your email address.
Once your email is verified, you can log in to your new Cloudflare dashboard. The dashboard is where you will manage all your website settings, view analytics, and monitor your website's performance. Take a moment to explore the interface. On the left side, you will see a menu with options like Home, Analytics, DNS, SSL/TLS, and more. For now, we will focus on the essential settings you need to get your CDN up and running.
Step 2: Add Your Website to Cloudflare
After logging in, click the Add a Site button on your Cloudflare dashboard. You will be asked to enter your domain name. Type in your full website domain without the www prefix - for example, if your website is www.example.com, just enter example.com. Cloudflare will then scan your current DNS records. This is important because Cloudflare needs to know where to send visitors when they type your domain name into their browser.
After the scan completes, you will see a list of your current DNS records. Most websites will have at least an A record pointing to your web server's IP address and possibly a CNAME record for www. Review these records carefully. If you see records you do not recognize or are unsure about, contact your web hosting provider before proceeding. In most cases, however, you can simply click Continue. Cloudflare will then ask you to choose your plan - select the Free plan, which includes all the essential CDN features you need.
Step 3: Update Your Nameservers
Now comes the critical step - changing your domain's nameservers to point to Cloudflare. Nameservers are like the GPS system of the internet - they tell browsers where to find your website. Currently, your domain is configured to use your web host's nameservers. By changing them to Cloudflare's nameservers, you are routing all your website traffic through Cloudflare's network, which will then serve your content from their servers around the world.
Cloudflare will show you two nameserver addresses, which look something like ns1.cloudflare.com and ns2.cloudflare.com. You need to go to your domain registrar's website - the company where you bought your domain name - and replace your current nameservers with these Cloudflare addresses. The process varies depending on your registrar, but generally, you will log in to your registrar account, find the domain management section, and look for an option to change nameservers. Paste the Cloudflare nameservers and save your changes.
After updating your nameservers, it can take anywhere from a few minutes to 48 hours for the changes to propagate across the internet. During this time, some visitors might still reach your old server while others connect through Cloudflare. This is completely normal. You can check if your nameservers have been updated by visiting your Cloudflare dashboard - they will show a status of Active when everything is working properly.
Step 4: Configure Your DNS Settings in Cloudflare
Once your site is active on Cloudflare, you need to make sure your DNS settings are configured correctly. Go to the DNS section of your Cloudflare dashboard. You should see the records Cloudflare imported earlier. The most important record to check is your A record, which points to your web server's IP address. Make sure this record has a Cloudflare status icon showing a cloud with an orange arrow, which means it is proxied through Cloudflare. If you see a grey cloud icon, click it to enable proxying - this is what activates the CDN.
Be careful with the grey cloud icon marked DNS Only - this means traffic goes directly to your server without Cloudflare protection or acceleration. Only use this setting for services that need direct server connection, like some email configurations. For your main website, keep the orange cloud enabled so Cloudflare can protect and accelerate your traffic.
Step 5: Enable Automatic HTTPS Rewrites
Security is crucial for any Singapore business website, especially with the Personal Data Protection Act in place. Cloudflare makes it easy to ensure all traffic to your site is encrypted. Go to the SSL/TLS section of your dashboard. You will see several options for encryption levels. Select Full or Flexible - Full is recommended if your origin server already has an SSL certificate installed, which most web hosts provide by default.
While in the SSL/TLS section, also enable Automatic HTTPS Rewrites. This feature automatically changes regular HTTP links on your website to HTTPS where possible, preventing mixed content warnings that can scare away visitors. Your visitors will always see the secure padlock icon in their browser, building trust in your business.
Step 6: Enable Caching for Faster Performance
One of the main benefits of Cloudflare is its powerful caching system. When someone visits your website, Cloudflare stores copies of your pages, images, and other static files on servers around the world. The next visitor requesting the same content gets it from the nearest server instead of your origin server, making pages load almost instantly.
By default, Cloudflare caches some content, but you can optimize this further. Go to the Caching section and click Configuration. Set your Browser Cache TTL to something between 2 to 8 hours for most business websites. This determines how long browsers keep copies of your content. Also enable Cache Tiered Origin to allow Cloudflare to cache content from edge servers instead of always hitting your origin server, further reducing load times.
If you use a content management system like WordPress, you might want to install the Cloudflare plugin to get even better performance. The plugin helps with things like automatic cache clearing when you update your site and improved compatibility with WordPress features. Search for Cloudflare in your WordPress plugins section and follow the simple setup instructions.
Step 7: Test Your Website Speed
Now that Cloudflare is configured, it is time to see the results. Before testing, clear your browser cache or use a private browsing window, as browsers sometimes cache old versions of websites. Use a speed testing tool like Google PageSpeed Insights, GTmetrix, or Pingdom Tools to check your website's load time. Enter your website URL and run the test.
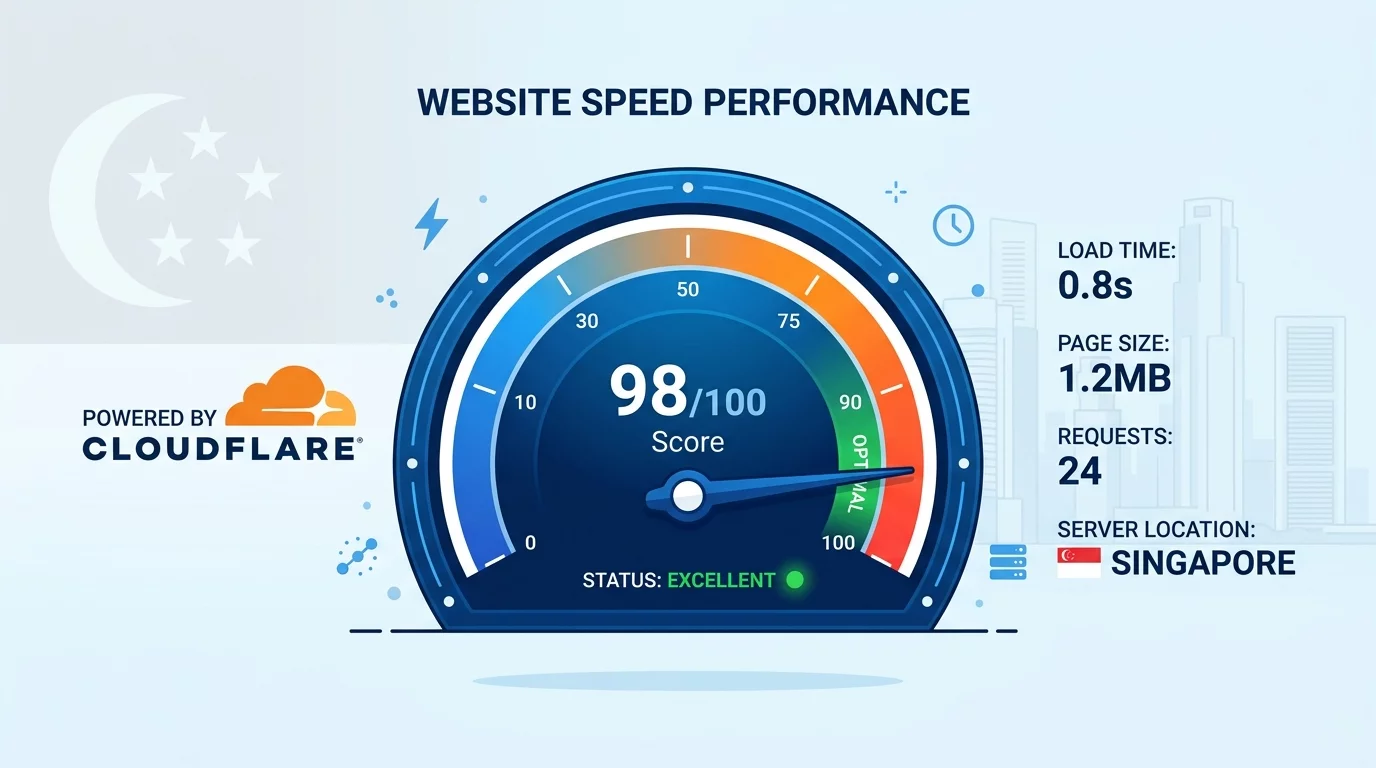
Compare the results with what you recorded before setting up Cloudflare. Most Singapore websites see significant improvements, often dropping load times from several seconds to under two seconds. You should also notice that your pages load consistently fast from different locations around the world, not just from Singapore. This global acceleration is particularly valuable if you serve customers in Malaysia, Indonesia, or other Southeast Asian countries.
Step 8: Monitor Your Analytics
Cloudflare provides detailed analytics about your website traffic, security threats blocked, and performance metrics. Visit the Analytics section of your dashboard regularly to see how much traffic you are getting, where it is coming from, and how Cloudflare is improving your website's performance. You can see things like the number of HTML pages cached, bandwidth saved, and threats blocked by Cloudflare's security features.
This information is valuable for understanding your audience and identifying potential issues. For example, if you see a sudden spike in threats blocked, it might indicate someone is trying to attack your website - Cloudflare is handling it automatically. If you notice traffic coming from unusual locations, you might be experiencing bot traffic, which Cloudflare can also help filter out.
Why This Matters for Singapore Businesses
Singapore has one of the highest internet penetration rates in the world, with over 92 percent of households connected. Singaporeans are accustomed to fast, reliable internet service and have little patience for slow websites. When potential customers are researching your products or services on their phones during their commute or lunch breaks, a slow website means they will move on to your competitor.
Beyond user experience, website speed is a ranking factor for Google and other search engines. Faster websites consistently rank higher in search results, meaning more visibility and more customers finding your business organically. For small businesses in Singapore that might not have large advertising budgets, good search engine rankings are crucial for competing with bigger brands.
Cloudflare also provides security benefits that are especially important for e-commerce websites and any site handling customer data. Its DDoS protection can absorb large attacks that would otherwise take your website offline. The Web Application Firewall blocks malicious traffic and common hacking attempts. These security features come included even with the free plan, giving small businesses enterprise-level protection without enterprise-level costs.
Setting up Cloudflare is one of the best investments you can make for your Singapore business website. It costs nothing, takes less than an hour to configure, and delivers immediate benefits in terms of speed, security, and user experience. Your visitors will thank you with longer time on site, higher conversion rates, and more positive impressions of your brand.
If you still need help, feel free to contact us at https://webcare.sg/contact for a free website health check.