How to Prevent Your Website from Breaking (Checklist)
Few things are as disruptive as a broken website. Whether it's a critical error, a hacked site, or simply a broken layout, website issues can lead to lost traffic, revenue, and damage to your brand reputation. While some problems are inevitable, a significant number of website breakdowns can be prevented through proactive maintenance and adherence to best practices for stability. This comprehensive checklist provides step-by-step guidance on how to prevent your website from breaking, ensuring its long-term health and reliability.
The Proactive Approach to Website Stability
Preventing your website from breaking is far more cost-effective and less stressful than fixing it after the fact. It involves a combination of regular updates, robust security measures, careful testing, and smart content management. Think of this as your website's health routine.
Website Stability Checklist: Essential Steps
1. Implement a Robust Backup Strategy
Backups are your ultimate safety net. If anything goes wrong, a recent backup allows you to restore your website to a working state, minimizing downtime and data loss. This is fundamental to website health, as highlighted in the importance of backups for your website.
-
Step 1.1: Automate Backups. Set up daily or at least weekly automated backups of your entire website (files and database) via your hosting provider or a reputable plugin/service.
-
Step 1.2: Store Backups Offsite. Always download copies of your backups to a local drive or a cloud storage service (e.g., Google Drive, Dropbox). Do not rely solely on server-side backups.
-
Step 1.3: Test Backups Periodically. Regularly test your backup restoration process in a staging environment to ensure they are viable and complete.
2. Keep All Software Updated
Outdated software is the most common entry point for attackers and a frequent cause of compatibility issues. Regular updates bring security patches, bug fixes, and performance improvements.
-
Step 2.1: Update Core CMS (WordPress, Joomla, etc.). As soon as a stable new version is released, plan its update. Understand the process with our guide on how to update your website without breaking it.
-
Step 2.2: Update Themes and Plugins/Extensions. Keep all active themes and plugins/extensions updated. Deactivate and delete any unused themes or plugins, as even inactive ones can pose security risks. Read more about the importance of regularly updating website plugins and themes.
-
Step 2.3: Update PHP Version. Ensure your website is running on a supported and secure PHP version. Older versions are vulnerable to known exploits. See our guide on PHP exploits and vulnerabilities for more.
-
Step 2.4: Test After Every Update. After each major update, thoroughly test your website's functionality, layout, and critical pages before pushing changes to live. Test on a staging site first if possible.
3. Implement Robust Security Measures
A proactive security stance is vital to prevent hacks, malware infections, and other malicious attacks that can break your site.
-
Step 3.1: Use Strong, Unique Passwords. For all accounts: hosting, CMS admin, FTP, database, email. Use a password manager.
-
Step 3.2: Implement Two-Factor Authentication (2FA). Enable 2FA for all critical logins, especially your hosting and CMS admin. This significantly enhances login security.
-
Step 3.3: Install a Security Plugin/Firewall. For CMS platforms, use reputable security plugins (e.g., Wordfence, Sucuri Security). Consider a Web Application Firewall (WAF) like Cloudflare for broader protection. This is part of how to protect against hacks.
-
Step 3.4: Limit Login Attempts. Configure your CMS or security plugin to block IP addresses after multiple failed login attempts.
-
Step 3.5: Disable File Editing. For WordPress, add
define('DISALLOW_FILE_EDIT', true);to yourwp-config.phpfile to prevent direct editing of theme and plugin files from the admin dashboard. -
Step 3.6: Scan Regularly for Malware. Use security scanners to detect malicious code or vulnerabilities. If you suspect an infection, refer to our WordPress malware removal guide.
4. Optimize for Performance and Maintain a Clean Database
A slow or bloated website is prone to errors, timeouts, and can lead to a broken user experience.
-
Step 4.1: Optimize Images. Compress and appropriately size all images before uploading them to your website. Implement lazy loading for images where possible. Learn more in our guide on how to speed up your site.
-
Step 4.2: Implement Caching. Use a caching solution (plugin or server-side) to serve cached versions of your pages, reducing server load and improving speed.
-
Step 4.3: Clean and Optimize Your Database. Regularly clean up spam comments, post revisions, and transient options. Use a database optimization tool for your CMS. This helps prevent issues like those discussed in how to fix database connection errors.
-
Step 4.4: Minify CSS and JavaScript. Combine and minify your CSS and JavaScript files to reduce their size and the number of HTTP requests.
5. Monitor and Test Continuously
Vigilance is key. Early detection of issues can prevent minor glitches from escalating into major breakdowns.
-
Step 5.1: Monitor Uptime. Use an uptime monitoring service to alert you immediately if your website goes down. Understanding what to do when your web server goes down is crucial.
-
Step 5.2: Check Browser Console Regularly. Periodically inspect your website's browser console (F12) for JavaScript errors, 404s, or mixed content warnings that indicate broken elements or resources. This is essential for troubleshooting issues like images not loading or broken website layouts.
-
Step 5.3: Test All Forms and Key Functionalities. Monthly, test all contact forms, login forms, search functions, and especially the e-commerce checkout process. Ensure confirmation emails are sent and received. Address issues like contact forms not working or e-commerce payment issues promptly.
-
Step 5.4: Review Google Search Console. Regularly check the "Coverage" and "Enhancements" reports for indexing errors, security issues, and structured data errors. Pay attention to warnings about "noindex" issues or structured data errors.
-
Step 5.5: Test on Multiple Devices and Browsers. Ensure your website looks and functions correctly across various screen sizes and web browsers. Address any mobile responsiveness issues, as discussed in how to fix poor mobile responsiveness.
6. Maintain a Clean and Organized Website Environment
A cluttered website environment can lead to confusion, performance issues, and potential vulnerabilities.
-
Step 6.1: Delete Unused Files and Databases. Remove any old, unnecessary files, themes, plugins, or database tables from your server. This reduces clutter and potential attack vectors.
-
Step 6.2: Clean Up Media Library. Remove unused images or media files from your media library to save space and keep your site lean.
By diligently following this checklist, you can significantly reduce the risk of your website breaking and ensure a stable, secure, and high-performing online presence. While this guide provides a strong foundation, consistent monitoring and expert assistance for complex issues are invaluable. If managing your website's stability feels overwhelming, or you encounter problems you can't solve, don't hesitate to contact WebCareSG for professional website maintenance and repair services.
Related WebCare Solutions
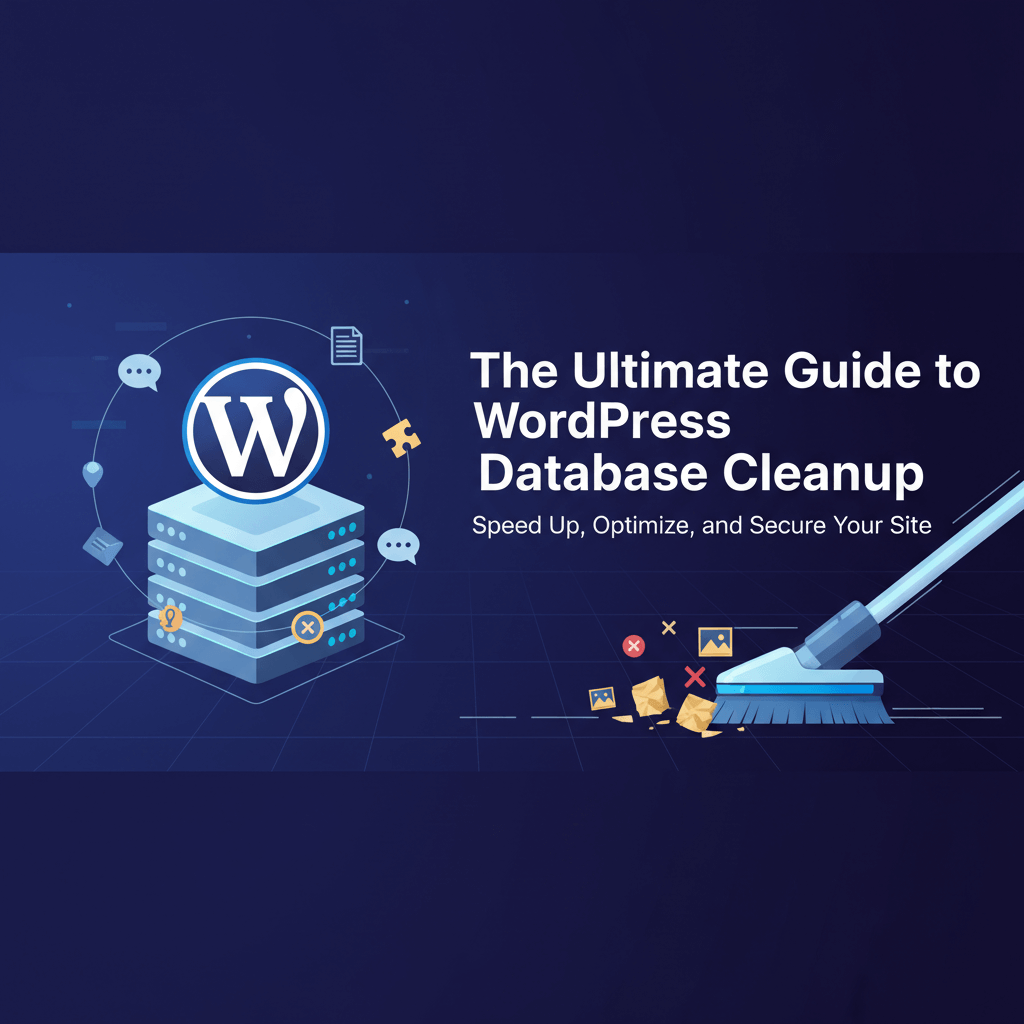
The Ultimate Guide to WordPress Database Cleanup
A deep dive into safely removing transients, old revisions, and orphaned data to improve backend performance and site reliability.

What is a 404 Page? And How to Fix It
When browsing the internet, you may have encountered a page that says 404 Not Found. But what does this mean?

Common Website Errors You Should Know About
Discover the most common website errors like 404 and 500, and learn how to fix them to improve your site's performance.
Ready to get started?
Focus on your business while we fix your website. Contact WebCareSG today for fast, reliable solutions!
Whatsapp us on